Introduction
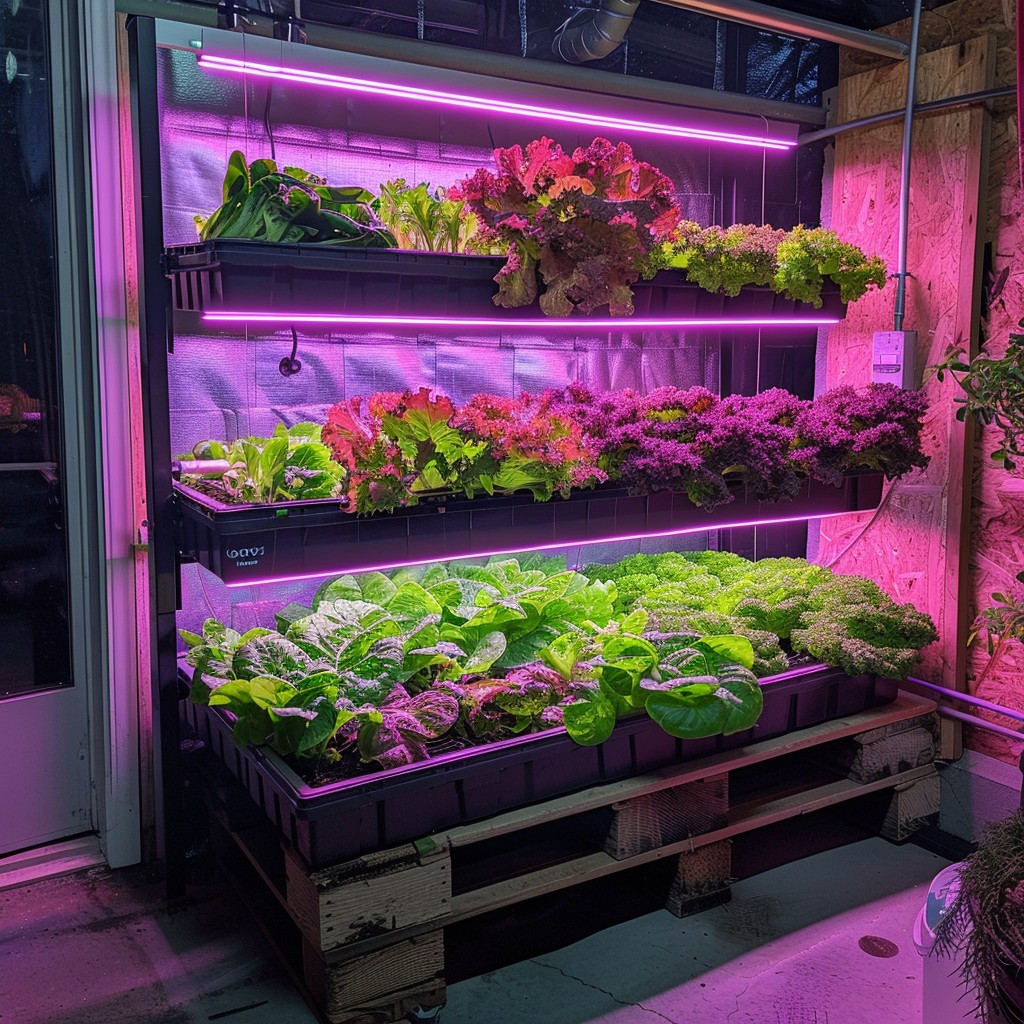
Table of Contents
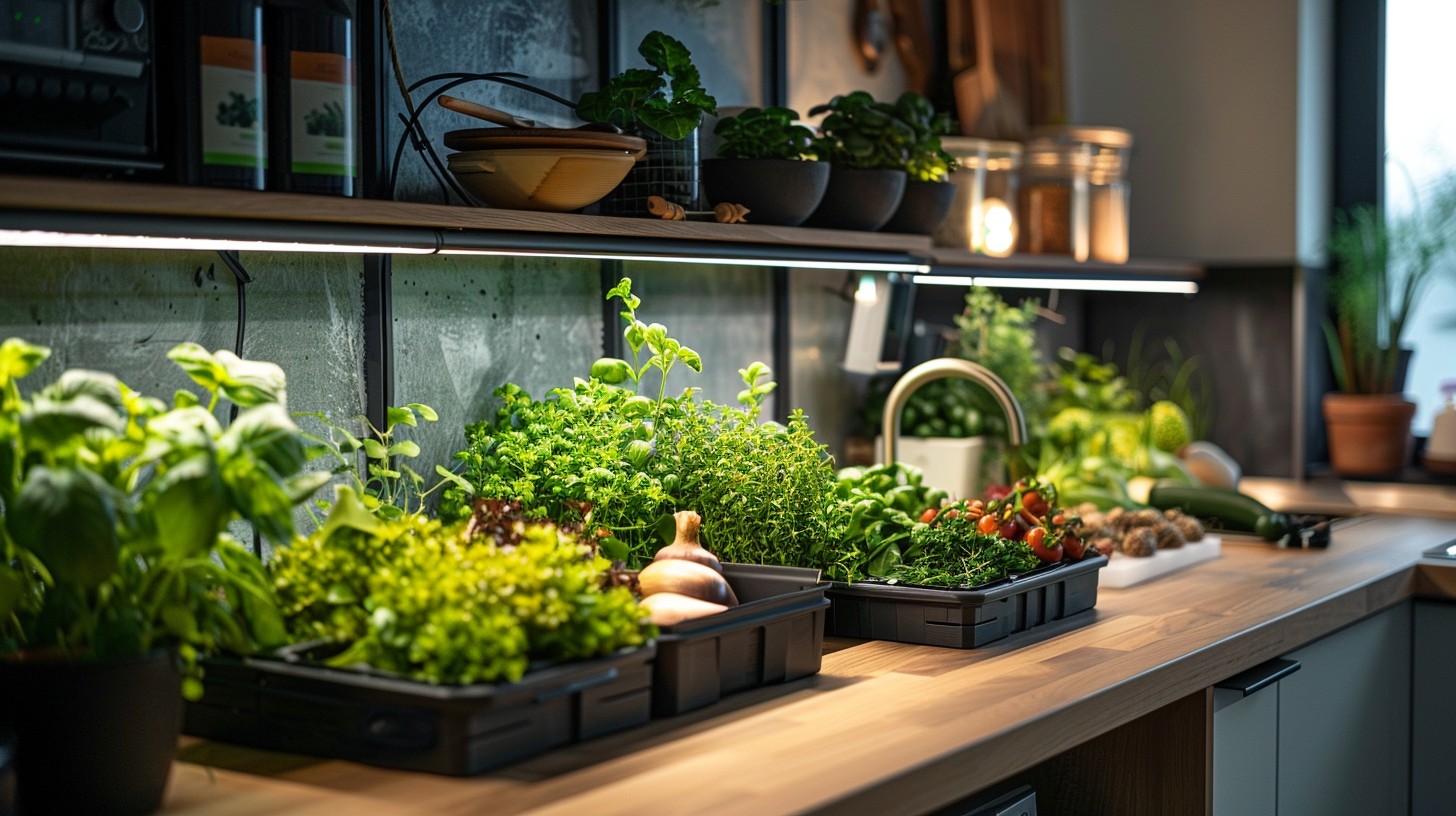
Indoor vegetable garden has gained popularity with urbanization on the rise and living spaces shrinking, Indoor vegetable gardening offering a practical solution for those without access to traditional gardens. This trend is not only about bringing nature indoors but also about embracing a sustainable and healthy lifestyle in urban environments. The concept, akin to having a personal botanical garden, is transforming how people grow their own food in compact spaces.
Importance of Indoor Vegetable Gardens
A Growing Trend: The Popularity of Indoor Gardening
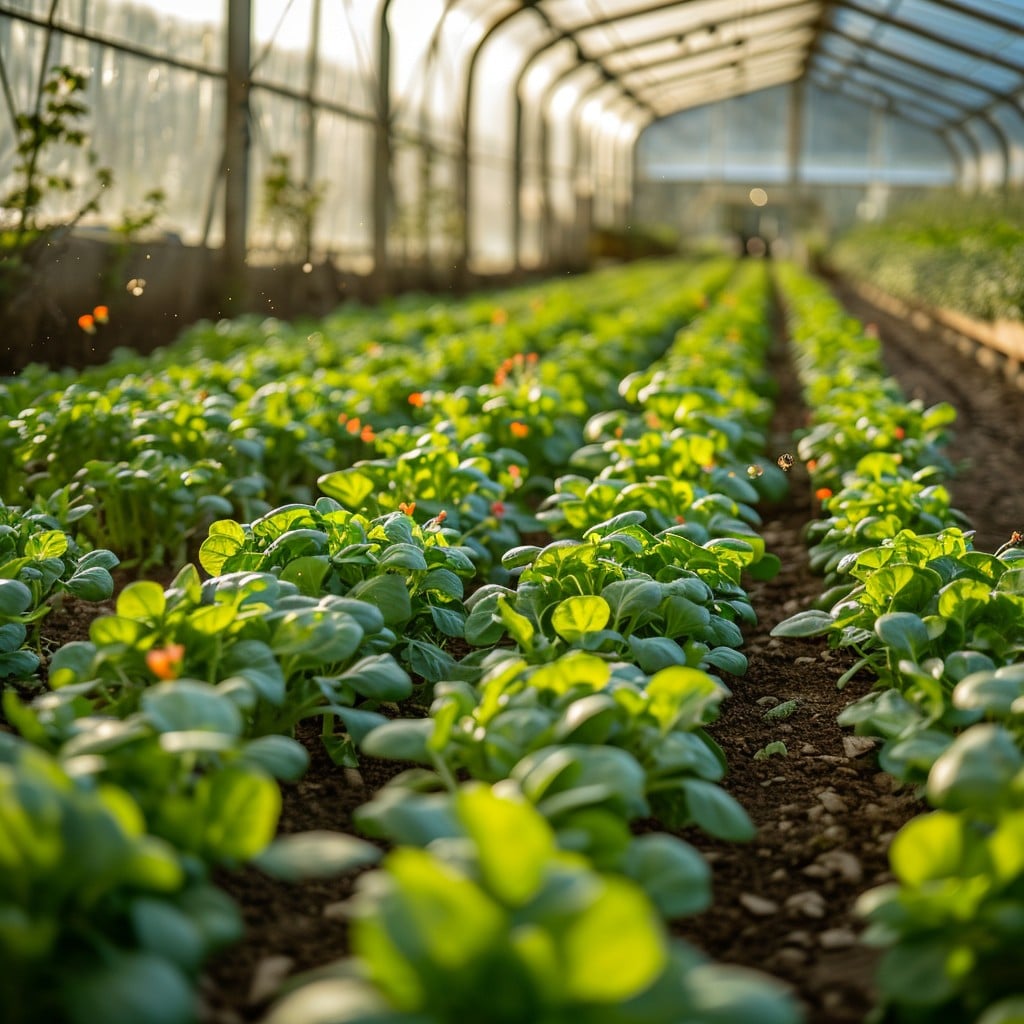
Indoor gardening has evolved from a niche hobby to a mainstream movement, fueled by a combination of factors. The global push towards sustainability, the desire for fresh, organic produce, and the increasing awareness of the environmental impact of long food supply chains have all contributed to the rising popularity of growing vegetables at home.
Additionally, as more people seek to reconnect with nature and enhance their living environments, indoor gardening offers a practical way to bring the outdoors in.For apartment dwellers, the concept of an “indoor apartment vegetable garden” is particularly attractive. With limited or no access to outdoor spaces like backyards or community gardens, these individuals have found innovative ways to cultivate their own food.
Whether it’s using windowsills, balcony containers, or even vertical wall planters, the possibilities for creating a thriving indoor garden in an apartment are vast. This shift towards indoor gardening reflects a broader societal trend towards self-sufficiency and conscious living, where individuals take control of what they eat and how it’s grown, even within urban settings.
Benefits of Growing Your Own Indoor Vegetables
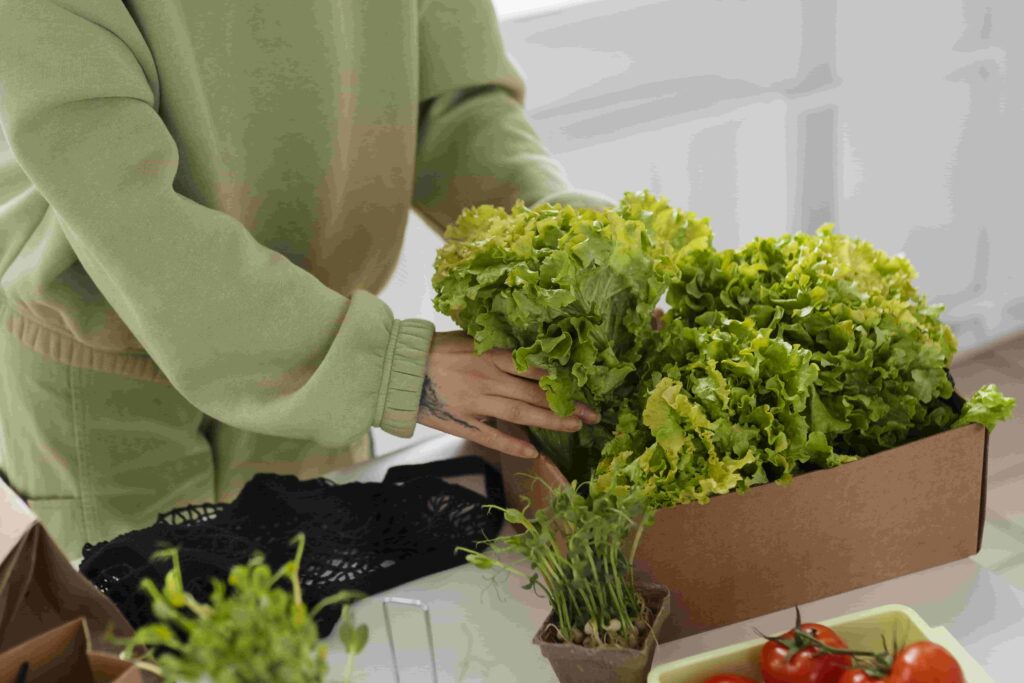
The benefits of maintaining an indoor vegetable garden extend far beyond the simple joy of gardening. For one, it offers an unparalleled level of convenience. Imagine having fresh herbs, leafy greens, or even tomatoes at your fingertips, ready to be picked and added to your meals.
This not only enhances the flavor and nutrition of your dishes but also eliminates the need for frequent trips to the grocery store. In essence, an “indoor apartment vegetable garden” turns your home into a mini farm, providing you with fresh produce year-round.
Another significant advantage is the ability to control the growing environment. Unlike outdoor gardens, where plants are subject to unpredictable weather, pests, and diseases, an indoor vegetable garden offers a controlled space where you can manage temperature, humidity, and light.
This is where the concept of an indoor vegetable garden with grow lights becomes particularly valuable. Grow lights replicate the natural sunlight that plants need to photosynthesize, allowing you to grow a wider variety of vegetables regardless of the natural light available in your apartment. This technology has made it possible for even those with the most light-challenged living spaces to successfully cultivate healthy, robust plants indoors.
Moreover, growing vegetables indoors can contribute significantly to mental well-being. Gardening, even on a small scale, has been shown to reduce stress, enhance mood, and provide a sense of accomplishment.
The act of nurturing plants, watching them grows, and eventually harvesting your own produce can be incredibly rewarding and therapeutic. In a world where many people feel increasingly disconnected from nature, indoor gardening offers a tangible way to reconnect and find solace in the natural world.
In addition to these personal benefits, indoor vegetable gardening also supports environmental sustainability. By growing your own food, you reduce the carbon footprint associated with transporting produce from farms to stores and then to your kitchen. Furthermore, it encourages the practice of organic gardening, where chemical pesticides and fertilizers are avoided, leading to healthier, safer food and a cleaner environment.
In summary, the importance of indoor vegetable gardens lies in their ability to provide fresh, homegrown produce, even in urban settings like apartments. Whether you’re cultivating an indoor apartment vegetable garden or utilizing advanced techniques like an “indoor vegetable garden with grow lights,” the benefits are multifaceted, impacting your health, well-being, and the environment. As more people embrace this trend, the future of urban living looks greener, healthier, and more self-sufficient.
Choosing the Right Space
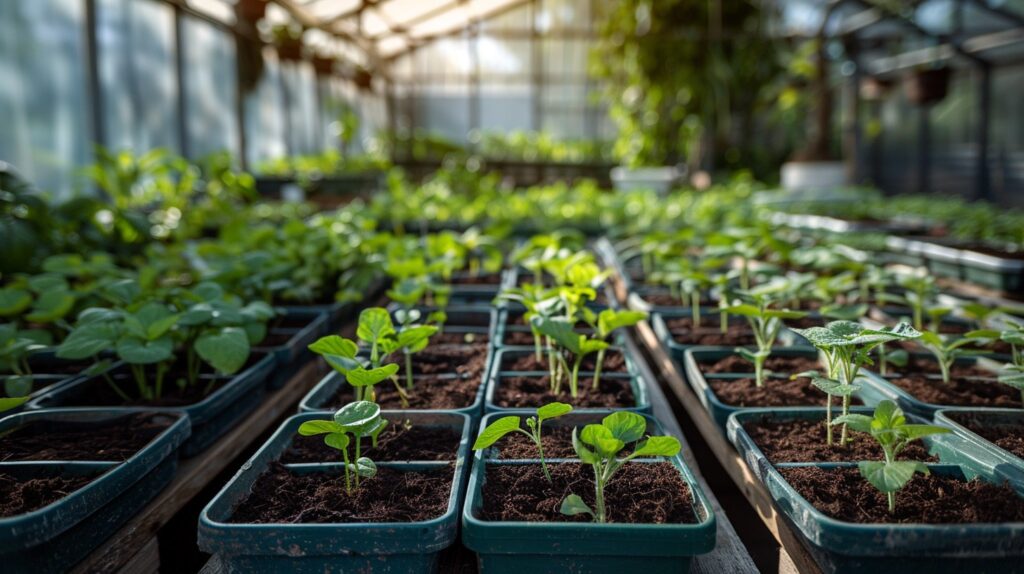
Creating a thriving indoor vegetable garden in an apartment requires careful planning, particularly when it comes to selecting the right space. Given the limited room in most apartments, every inch counts and finding the perfect spot can make all the difference between a flourishing garden and a struggling one. Here’s how to assess your apartment space and make the most of what you have to create a productive and beautiful indoor apartment vegetable garden.
Assessing Your Apartment Space
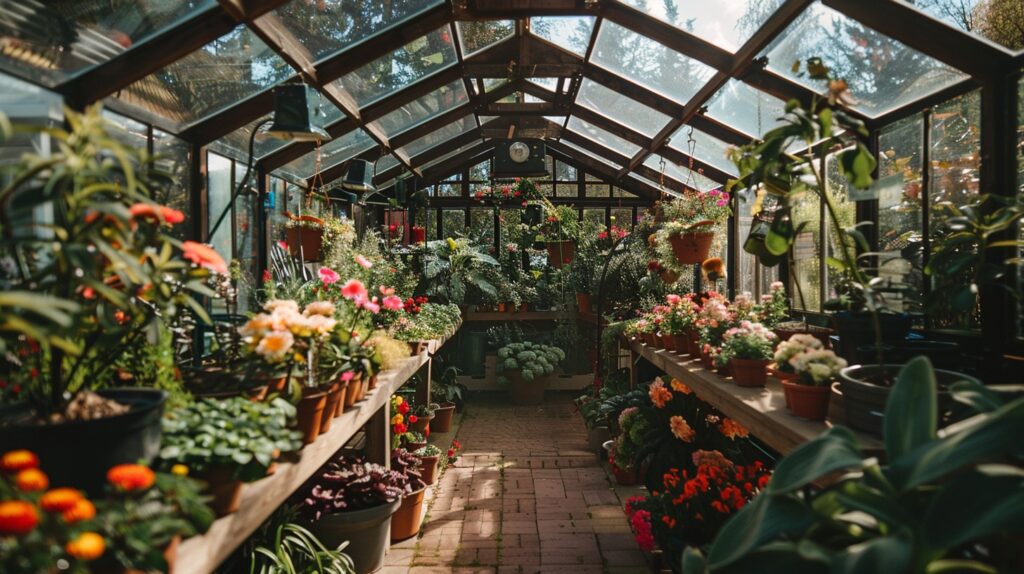
Finding the Perfect Spot

The first step in setting up your indoor vegetable garden is to identify the most suitable location within your apartment. This choice will largely determine the success of your garden, as plants need specific conditions to thrive.
Sunlight Availability:
Light is one of the most critical factors for plant growth. Most vegetables require at least 6-8 hours of sunlight per day, making a south-facing window the ideal spot for an indoor garden. If your apartment doesn’t receive enough natural light, you may need to supplement it with grow lights. These artificial lights mimic the spectrum of natural sunlight and can be placed anywhere, allowing for more flexibility in choosing a location.
Accessibility:
Your garden should be easily accessible, not just for planting but also for daily maintenance like watering, pruning, and harvesting. Consider placing your garden in a spot that you pass by frequently, such as the kitchen, where you can quickly water or pick fresh herbs while cooking. An accessible location also increases the likelihood that you’ll tend to your plants regularly, which is crucial for their health.
Space Constraints:
Apartments often come with limited space, so it’s essential to assess how much room you have to dedicate to your garden. Measure the available area, considering both floor and vertical space. Small spaces can still accommodate a variety of plants if you plan wisely. Even a narrow windowsill or a small corner can become a productive garden with the right approach.
Ventilation and Humidity:
Good air circulation is vital for healthy plant growth, as stagnant air can lead to mold and mildew. Choose a location with decent airflow but avoid areas with drafts, like near frequently opened windows or doors. Additionally, consider the humidity levels in your chosen spot; most vegetables prefer moderate humidity. If the air in your apartment is too dry, especially during winter, you might need to use a humidifier to maintain optimal growing conditions.
Considering Your Apartment Layout
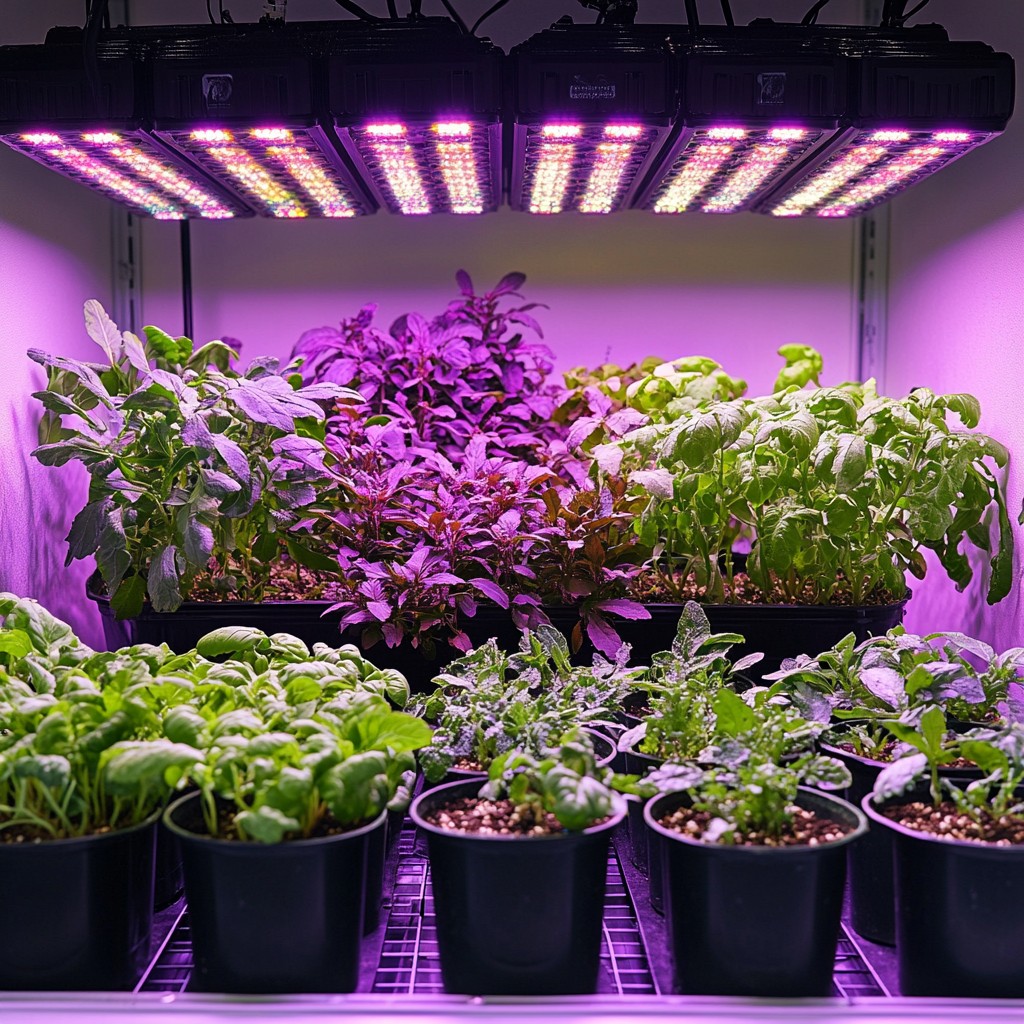
Your apartment’s layout plays a significant role in determining where to place your indoor garden. If your apartment has large windows or a balcony, you’re in luck—these are prime spots for gardening. However, even if your apartment lacks these features, there are still plenty of ways to create an effective growing space.
Look for areas that receive indirect light, such as near a bright window in the living room or bedroom. If you have an open floor plan, consider using room dividers or shelving units that double as planters, adding both greenery and privacy to your space.
Maximizing Small Spaces
Utilizing Vertical Space
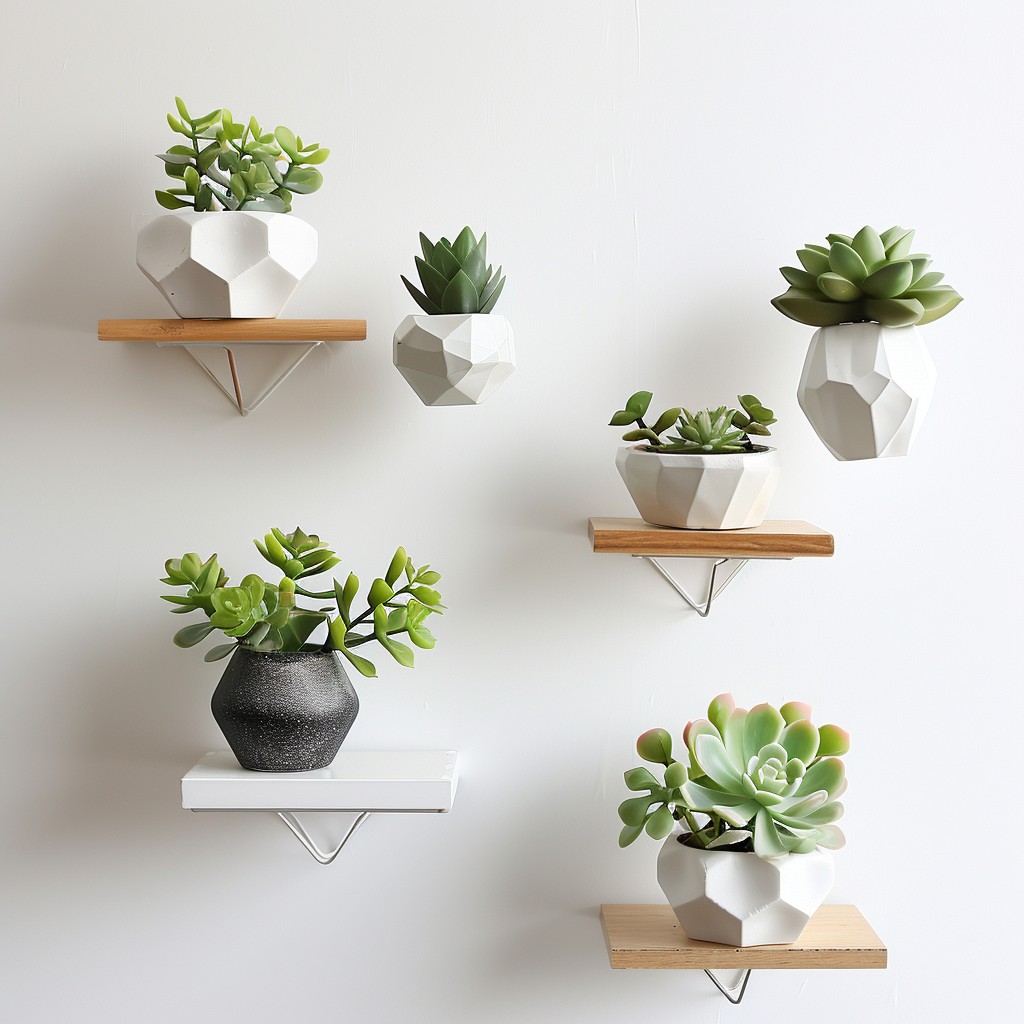
When horizontal space is at a premium, vertical gardening becomes your best friend. Not only can vertical gardens conserve space, but they also provide your apartment a distinctive aesthetic touch.Here are some tips for utilizing vertical space in your “indoor apartment vegetable garden”:
Wall-Mounted Planters:
Use wall-mounted planters or shelves to grow your vegetables vertically. These planters can hold small pots or trays, making them perfect for growing herbs, lettuce, or strawberries. Wall-mounted systems are ideal for areas with limited floor space and can be installed in any room with sufficient light.
Hanging Baskets:
Hanging baskets are another fantastic alternative for vertical planting.They are particularly useful for trailing plants like tomatoes, beans, or herbs. Hanging baskets can be placed near windows or from ceiling hooks in rooms with good light. They not only maximize space but also add a decorative touch to your apartment.
Trellises and Climbing Structures:
If you’re growing vining plants like peas, beans, or cucumbers, consider using trellises or other climbing structures. These can be attached to walls, balconies, or even standalone units. By training plants to grow vertically, you free up valuable floor space while still enjoying a bountiful harvest.
Making the Most of Windowsills and Balconies
Windowsills and balconies are prime real estate for an “indoor apartment vegetable garden.” These spaces often receive the most natural light, making them ideal for growing a variety of vegetables.
Windowsills:
Even the narrowest windowsills can accommodate small pots or trays. Herbs like basil, cilantro, and parsley, as well as leafy greens like spinach and lettuce, are perfect candidates for windowsill gardening.
Use shallow pots to avoid overcrowding and ensure good drainage. If your windowsill is deep enough, consider placing a row of pots, or use tiered shelves to increase your planting area.
Balconies:
If your apartment has a balcony, you have even more options. Balconies provide ample light and air circulation, making them suitable for larger plants like tomatoes, peppers, and even dwarf fruit trees.
Use containers of various sizes to grow a diverse range of vegetables, and consider adding a small trellis or vertical garden system to make the most of your space. Hanging planters can be attached to balcony railings to further expand your garden area.
Creative Solutions for Small Spaces
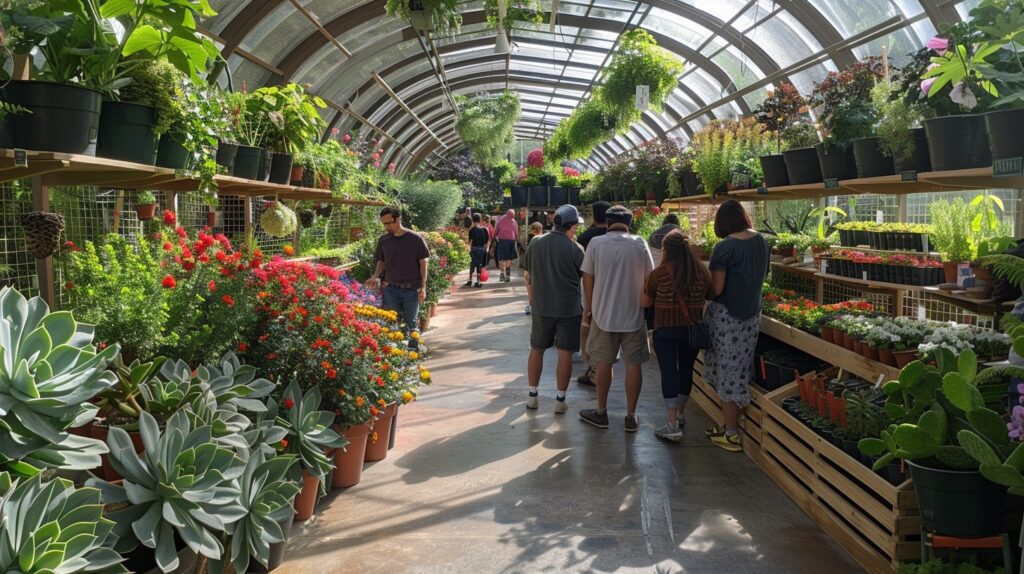
Small spaces require creative solutions to maximize their potential. Here are some ideas to help you make the most of your indoor apartment vegetable garden.
Tiered Shelving Units:
Tiered shelves allow you to grow multiple plants in a small footprint. These units can be placed in front of windows, on balconies, or even in corners. Each shelf can hold a different type of vegetable, allowing for a diverse garden in a compact space.
Stack-able Planters:
Stack-able planters are perfect for growing herbs, strawberries, or small root vegetables. These planters take up minimal floor space and can be placed on balconies, patios, or even indoors near a light source.
Rolling Carts:
A rolling cart with multiple levels can serve as a mobile garden. These carts can be moved to different locations within your apartment to catch the best light throughout the day. They are ideal for apartments where space is limited or light conditions change frequently.
Over-the-Door Organizers:
Repurpose over-the-door shoe organizers as vertical planters. Each pocket can hold soil and a small plant, making it easy to grow a variety of vegetables in a confined space. Hang these organizers on doors that receive good light or even on balcony railings.
In conclusion, choosing the right space for your indoor apartment vegetable garden involves assessing the light, accessibility, and layout of your apartment. By maximizing vertical space, utilizing windowsills and balconies, and employing creative solutions, you can create a productive and visually appealing garden, even in the smallest of spaces. With careful planning and a bit of ingenuity, you’ll soon be harvesting fresh vegetables from your very own indoor oasis.
Best Vegetables for Indoor Gardening
Starting an indoor vegetable garden is an exciting venture that brings fresh, homegrown produce right into your living space. Choosing the right vegetables to grow indoors is crucial for ensuring a successful and productive garden, especially in an apartment setting where space and light may be limited.
This section will guide you through selecting the best vegetables for indoor gardening and offer tips on companion planting to maximize both space and yield in your indoor apartment vegetable garden.
Top Vegetables to Grow Indoors
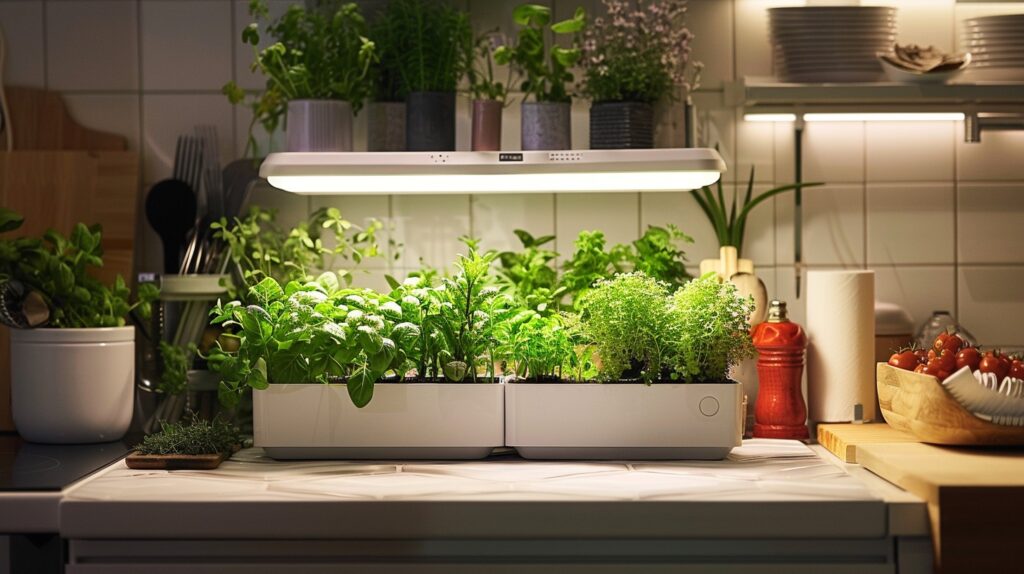
When it comes to indoor vegetable gardening, some vegetables are better suited to the environment than others. These vegetables are typically compact, fast-growing, and able to thrive in the controlled conditions of an indoor space. Below is a list of top vegetables that are ideal for an indoor vegetable garden, along with their specific growing requirements.
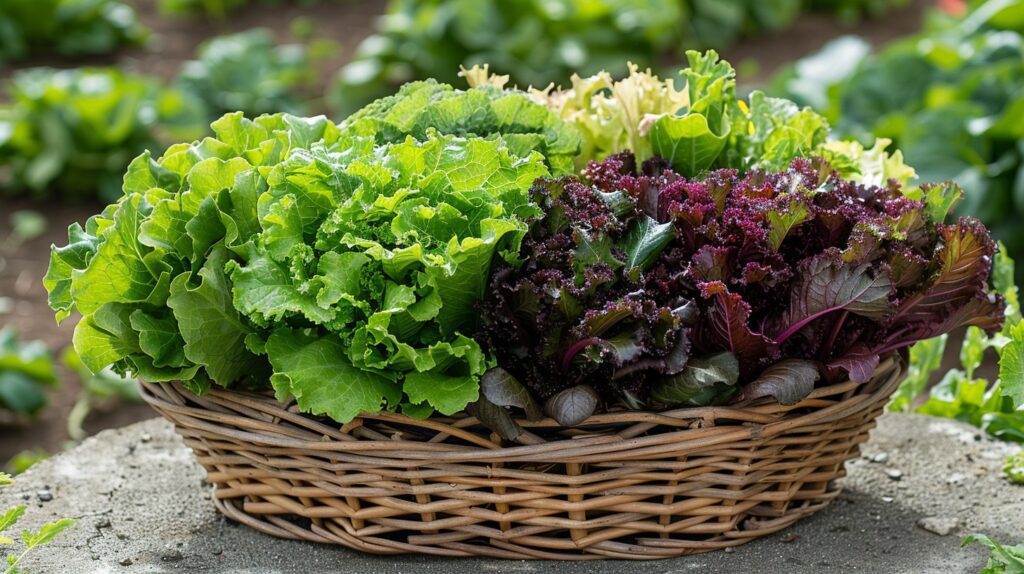
Lettuce
- Light: Lettuce is one of the easiest vegetables to grow in your indoor vegetable garden, as it doesn’t require intense sunlight. It thrives in bright, indirect light, making it suitable for windowsills that receive a moderate amount of sunlight.
- Water: Lettuce prefers consistently moist soil but should not be waterlogged. To maintain uniform moisture in the soil, water it often.
- Space: Lettuce doesn’t require much space in your indoor vegetable garden and can be grown in shallow containers or even in hydroponic systems. It’s perfect for tight spaces like windowsills or small planters.
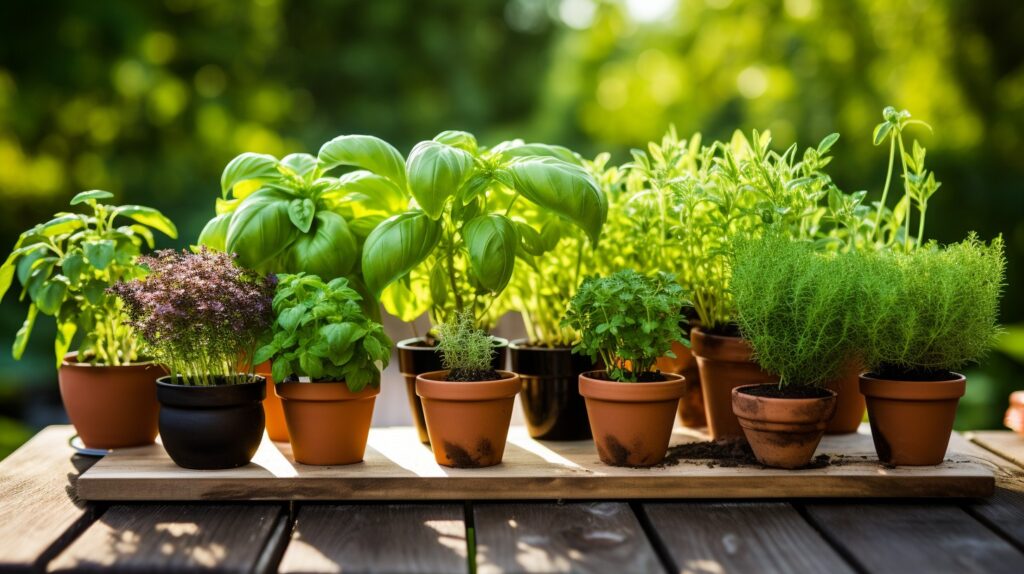
Herbs (Basil, Parsley, Cilantro, Mint)
- Light: The majority of herbs require 4-6 hours of sunlight per day. If there is not enough natural light, place them under grow lights or on a sunny windowsill.
- Water: Herbs generally prefer well-draining soil and should be watered when the top inch of soil feels dry. Take care not to overwater as this can cause rot in the roots.
- Space: Herbs can be grown in small pots or containers, making them ideal for your indoor vegetable gardening. They can also be grouped together in larger containers for a mini herb garden.
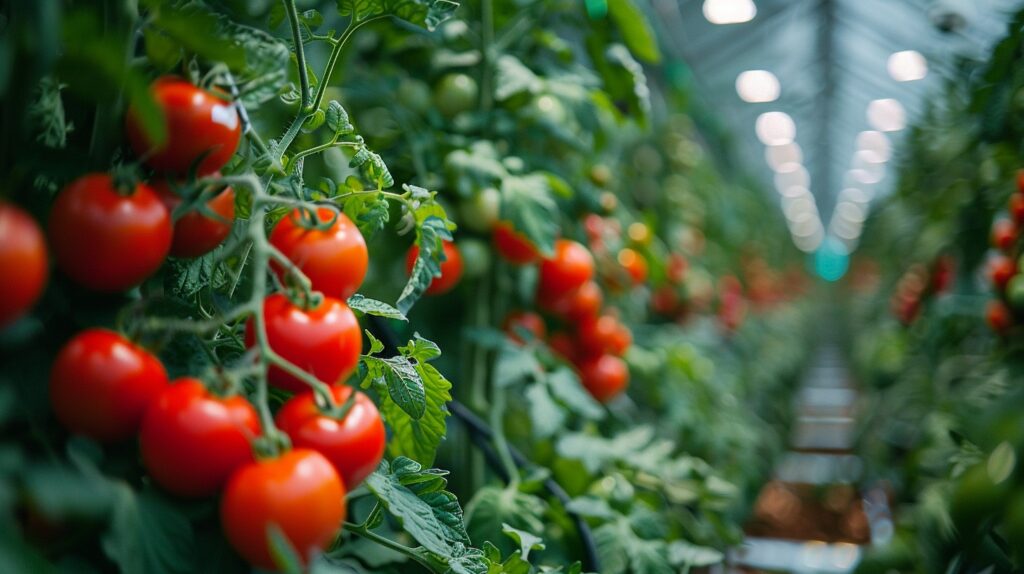
Tomatoes
- Light: Tomatoes require a lot of light—ideally 8-10 hours a day. They thrive under grow lights, making them a popular choice for an indoor vegetable garden with grow lights.
- Water: Ensure that the soil is continuously damp but not drenched. Tomatoes are heavy feeders and may require regular fertilization.
- Space: While tomatoes need more space than other indoor vegetables, dwarf or cherry tomato varieties are more compact and suitable for container gardening. They can be grown in large pots on a sunny windowsill or under grow lights. It can be a space taking vegetable in your indoor vegetable garden.
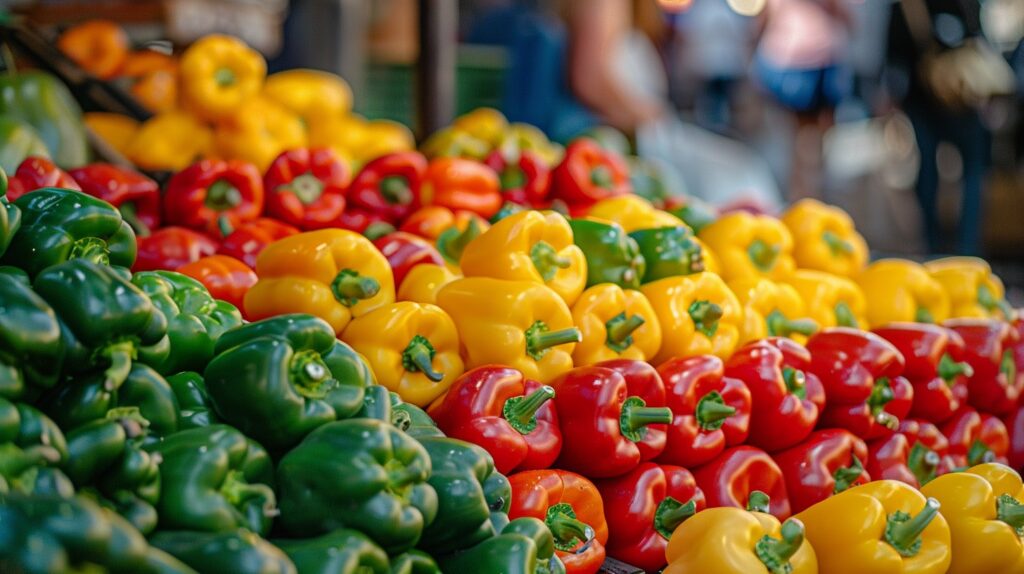
Peppers
- Light: Like tomatoes, peppers require at least 8-10 hours of light each day. A south-facing window or grow lights are ideal for providing the necessary light.
- Water: Peppers need regular watering, but the soil should be well-draining to prevent waterlogging.
- Space: Peppers can be grown in medium-sized containers. Smaller varieties like chili peppers or mini bell peppers are particularly well-suited for indoor gardens.
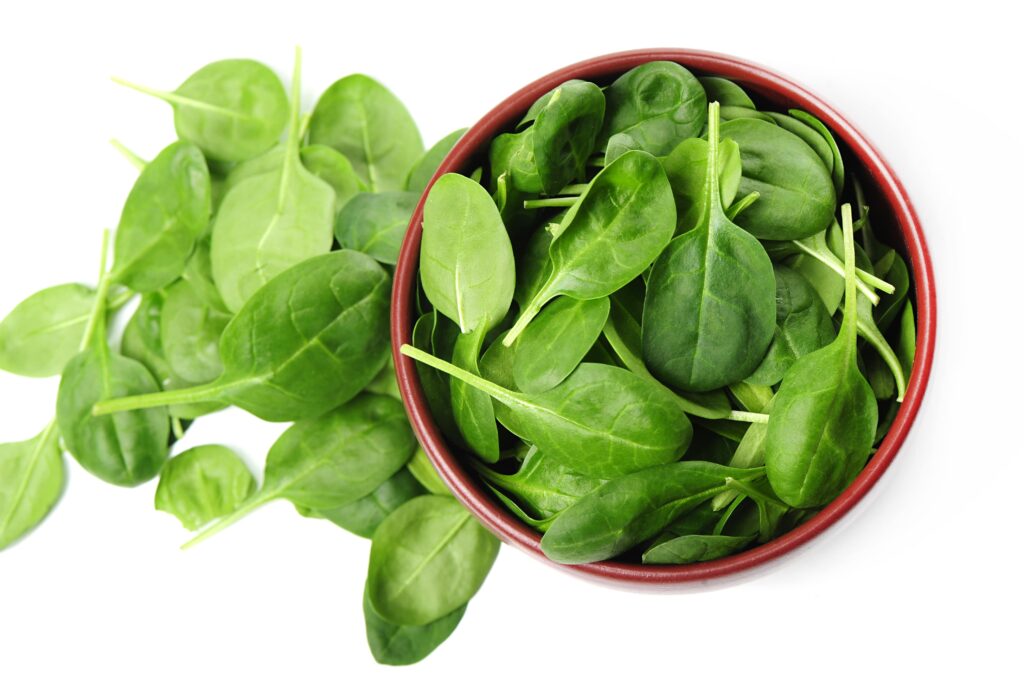
Spinach
- Light: Spinach is a cool-weather vegetable that does well with 6-8 hours of indirect sunlight. It’s also a good candidate for growing under grow lights.
- Water: Spinach requires consistently moist soil. Water regularly but avoid overwatering, as spinach is prone to root rot in soggy soil.
- Space: Spinach can be grown in shallow containers, making it a great choice for small indoor spaces. It also grows quickly, allowing for multiple harvests from a single planting.
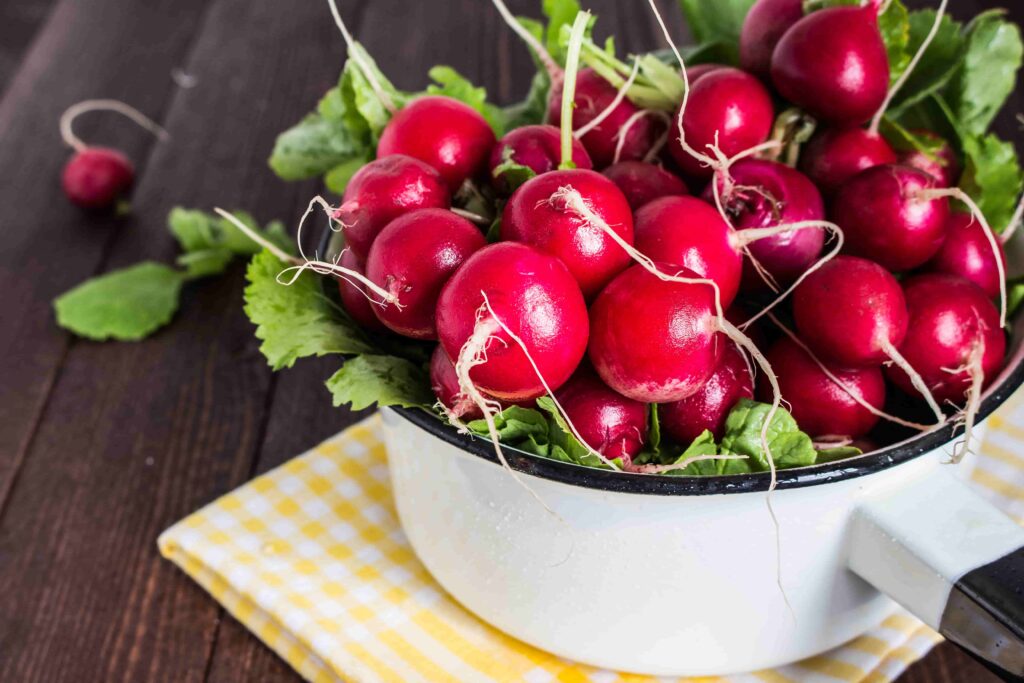
Radishes
- Light: Radishes need about 6 hours of light each day. They can thrive in a bright window or under grow lights.
- Water: Avoid waterlogging, but keep the soil uniformly moist. Radishes grow quickly and need consistent moisture to develop properly.
- Space: Radishes have a short growing season and can be planted in small pots or containers. They don’t require deep soil, making them ideal for indoor gardening.
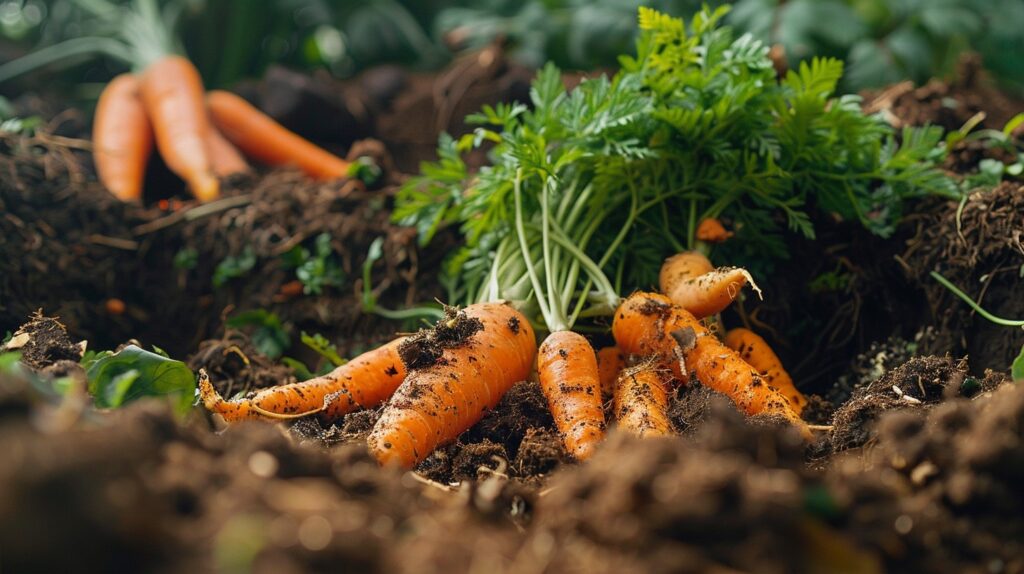
Carrots
- Light: Carrots require around 6-8 hours of sunlight daily. If natural light is insufficient, grow lights can be used to ensure they receive enough light.
- Water: Carrots need consistently moist soil, especially during the germination period. Water the soil frequently, but don’t allow it to get soggy.
- Space: Choose a deep container to accommodate the carrot roots. Baby or round carrot varieties are particularly well-suited for indoor growing in limited space.
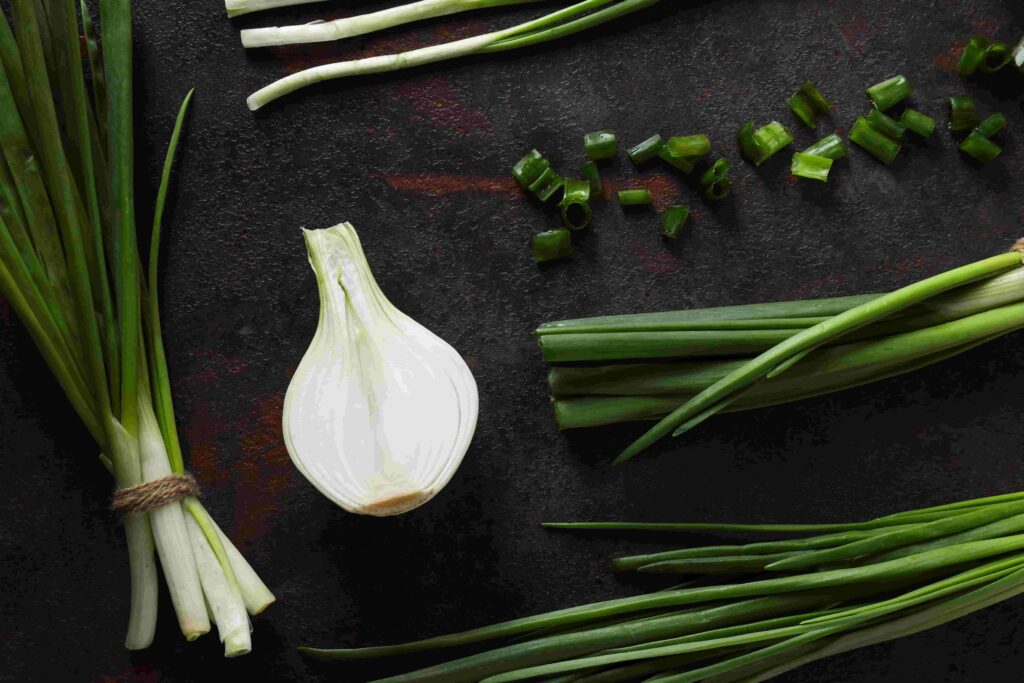
Green Onions (Scallions)
- Light: Green onions need about 6 hours of sunlight each day. They are also easy to grow under grow lights.
- Water: Water green onions regularly to keep the soil moist but not waterlogged.
- Space: Green onions don’t require much space and can be grown in small pots or even water containers. They are perfect for windowsills or small containers in your indoor vegetable garden.
Companion Planting Tips
Companion planting is a gardening technique that involves growing certain plants together to enhance growth, maximize space, and protect against pests. In an indoor vegetable garden, where space is often limited, companion planting can help you make the most of your available area while improving the health and productivity of your plants.
Basil and Tomatoes
- Why It Works: Basil is known to enhance the flavor of tomatoes when grown together. Additionally, basil can help deter pests like aphids and spider mites, which can damage tomato plants.
- How to Plant: Grow basil and tomatoes in the same container or in adjacent containers on a windowsill or under grow lights.
Carrots and Lettuce
- Why It Works: Carrots and lettuce have different growth habits and nutrient needs, making them excellent companions. Carrots grow underground, while lettuce grows above ground, allowing them to share space without competing.
- How to Plant: Plant lettuce around the edges of a container, with carrots in the center. This maximizes the use of space and ensures both plants have enough room to grow.
Spinach and Radishes
- Why It Works: Spinach and radishes grow well together because radishes mature quickly, allowing for a staggered harvest. This means you can plant radishes early and replace them with more spinach or another crop once harvested.
- How to Plant: Plant radishes in rows with spinach in between. As the radishes mature and are harvested, the spinach will continue to grow and fill in the space.
Peppers and Green Onions
- Why It Works: Green onions help deter pests that can damage pepper plants, such as aphids and spider mites. They also don’t compete much for space or nutrients, making them ideal companions.
- How to Plant: Plant green onions around the base of pepper plants. This arrangement makes efficient use of space and provides mutual benefits for both plants.
Mint and Herbs
- Why It Works: Mint is a natural pest deterrent and can help protect other herbs from insects. However, mint can be invasive, so it’s best to plant it in a separate container near other herbs rather than directly with them.
- How to Plant: Place mint in a pot near other herb containers. This allows you to benefit from its pest-repelling properties without it overtaking other plants.
Companion planting in an indoor vegetable garden not only maximizes your growing space but also enhances plant health and productivity. By choosing the right combinations of vegetables and herbs, you can create a thriving indoor vegetable garden that provides fresh, homegrown produce year-round.
In conclusion, selecting the best vegetables for your indoor vegetable garden and using companion planting techniques can help you create a productive and space-efficient indoor apartment vegetable garden. With careful planning and attention to each plant’s specific needs, you can enjoy a bountiful harvest, even in the limited space of an apartment.
Setting Up Your Indoor Vegetable Garden
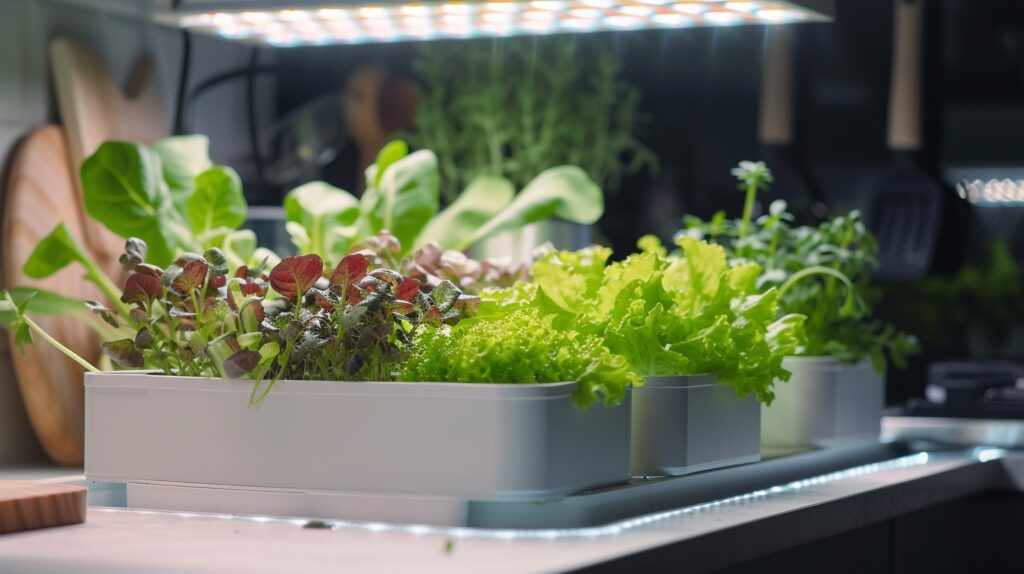
Creating an indoor vegetable garden is an enriching and rewarding experience, especially when you’re able to harvest fresh, homegrown produce right from your apartment. Setting up your garden involves careful planning and the right techniques to ensure your plants thrive in an indoor environment. This section provides a step-by-step guide to setting up your indoor vegetable garden from scratch and offers detailed advice on using grow lights effectively, particularly for an indoor vegetable garden with grow lights.
Step-by-Step Guide
Setting up your indoor vegetable garden requires careful attention to several key factors, including container preparation, soil mix, and planting techniques. Here is a full detail how-to to get you going:
Choose the Right Containers
Selecting the appropriate containers is the first step in setting up your indoor vegetable garden. The type of container you choose will depend on the vegetables you plan to grow, the available space, and your aesthetic preferences.
Size and Depth:
Different vegetables have different root systems, so container size is crucial. For example, leafy greens like lettuce and spinach can thrive in shallow containers (4-6 inches deep), while root vegetables like carrots and radishes require deeper containers (8-12 inches deep). Tomatoes and peppers, which have larger root systems, will need containers that are at least 12-18 inches deep.
Material:
Containers can be made of various materials, including plastic, terracotta, ceramic, or fabric. Plastic containers are lightweight and retain moisture well, while terracotta pots are breathable and help prevent over-watering but may require more frequent watering. Fabric pots, also known as grow bags, provide excellent drainage and aeration, making them ideal for indoor vegetable gardening.
Drainage:
Ensure that your containers have adequate drainage holes to prevent water from accumulating at the bottom, which can lead to root rot. If your chosen container doesn’t have drainage holes, you can drill them yourself or use a layer of gravel at the bottom to improve drainage.
Prepare the Soil Mix
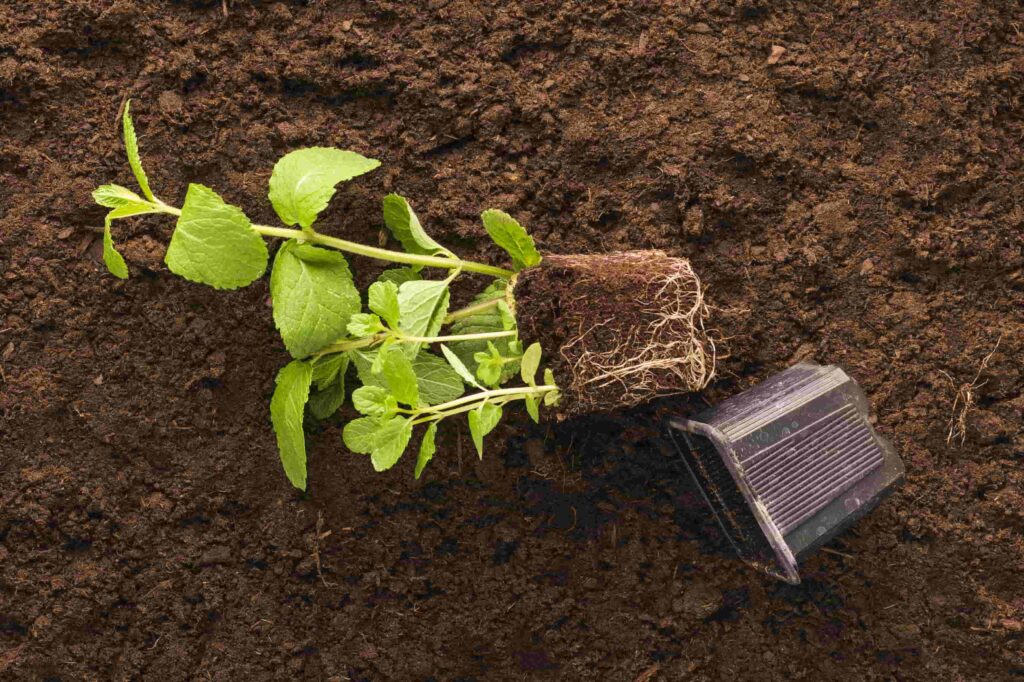
The quality of the soil mix is critical for the success of your indoor vegetable garden. Unlike outdoor gardens, indoor plants rely entirely on the soil mix for nutrients, so it’s essential to use a high-quality blend.
Soil Composition:
A well-balanced soil mix should be light, well-draining, and rich in organic matter. A typical indoor potting mix consists of peat moss or coconut coir for moisture retention, perlite or vermiculite for aeration and drainage, and compost or worm castings for nutrients.
Customizing the Mix:
Depending on the specific needs of your vegetables, you can customize your soil mix. For example, if you’re growing tomatoes, which are heavy feeders, you might want to add extra compost or slow-release organic fertilizer to the mix.
Sterilization:
To prevent pests and diseases, it’s advisable to sterilize your soil mix before planting. You can do this by heating the soil in an oven at 180°F (82°C) for 30 minutes. This step helps kill any harmful pathogens or pests that might be present in the soil.
Planting Your Vegetables
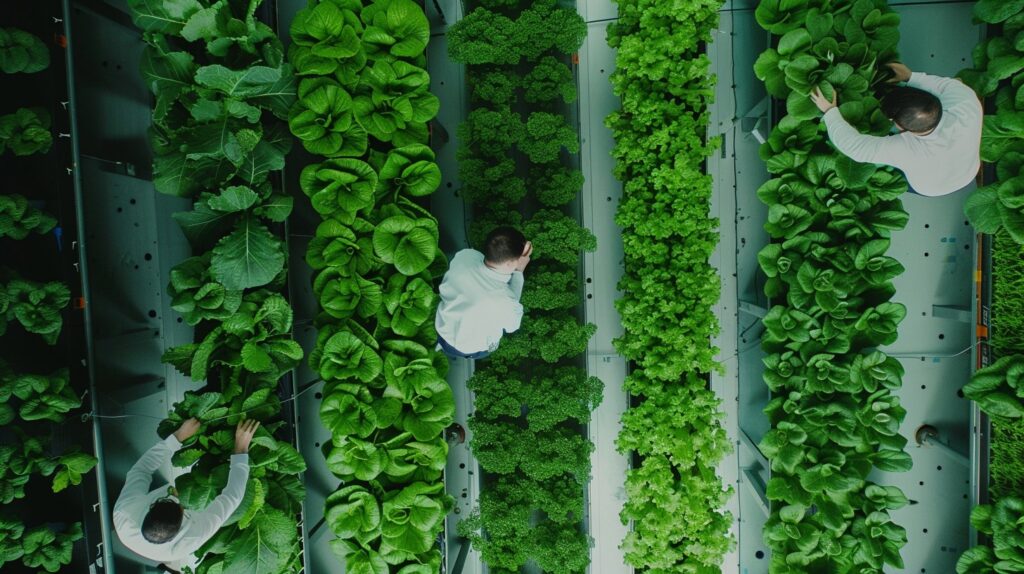
Once your containers and soil mix are ready, it’s time to plant your vegetables in your indoor vegetable garden. Here’s how to do it:
Seeding or Transplanting:
You can start your indoor vegetable garden from seeds or by transplanting seedlings. If you’re starting from seeds, follow the instructions on the seed packet regarding planting depth and spacing. For transplanting, gently remove the seedlings from their nursery pots and place them in the prepared container, filling in with soil around the roots.
Spacing:
To make sure that your plants have adequate space to flourish, proper spacing is essential. Poor air circulation and heightened illness susceptibility are two consequences of overcrowding. For example, lettuce should be spaced about 4-6 inches apart, while tomatoes require at least 18-24 inches of space.
Watering:
After planting, water the soil thoroughly to help the plants establish their roots. Going forward, water your plants regularly, keeping the soil consistently moist but not soggy. The watering frequency will depend on the type of vegetable, container size, and indoor conditions.
Fertilizing
Indoor plants often require more frequent fertilization than outdoor plants because nutrients can leach out of the soil mix with regular watering.
Type of Fertilizer:
Use a balanced, water-soluble fertilizer that is appropriate for the vegetables you’re growing. For leafy greens, a fertilizer with a higher nitrogen content is beneficial, while fruiting vegetables like tomatoes and peppers may need a fertilizer with more phosphorus and potassium.
Application:
For information on the proper dilution and application frequency, refer to the fertilizer package directions. During the growing season, fertilizer every two to four weeks is often advised. Take care not to fertilize your plants excessively since this might cause nutrient imbalances and harm them.
Maintenance
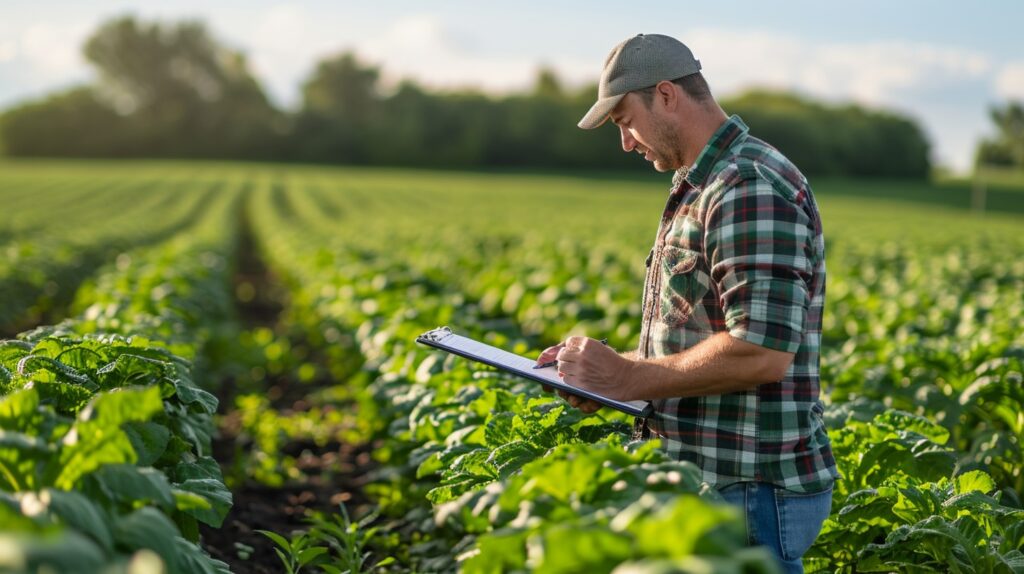
Regular maintenance is essential to keep your indoor vegetable garden healthy and productive.
Pruning:
Prune any withered or yellowing foliage to avert illnesses and enhance ventilation. For plants like tomatoes, pinching off the suckers (small shoots that grow between the stem and branches) can help direct energy towards fruit production.
Pest Control:
Indoors, common pests include aphids, spider mites, and fungus gnats. Regularly inspect your plants for signs of pests and treat them promptly with organic solutions like neem oil or insecticidal soap.
Harvesting:
When the vegetables are the right size and level of maturity, harvest them. Regular harvesting encourages continued production, especially for leafy greens and herbs.
Using Grow Lights Effectively
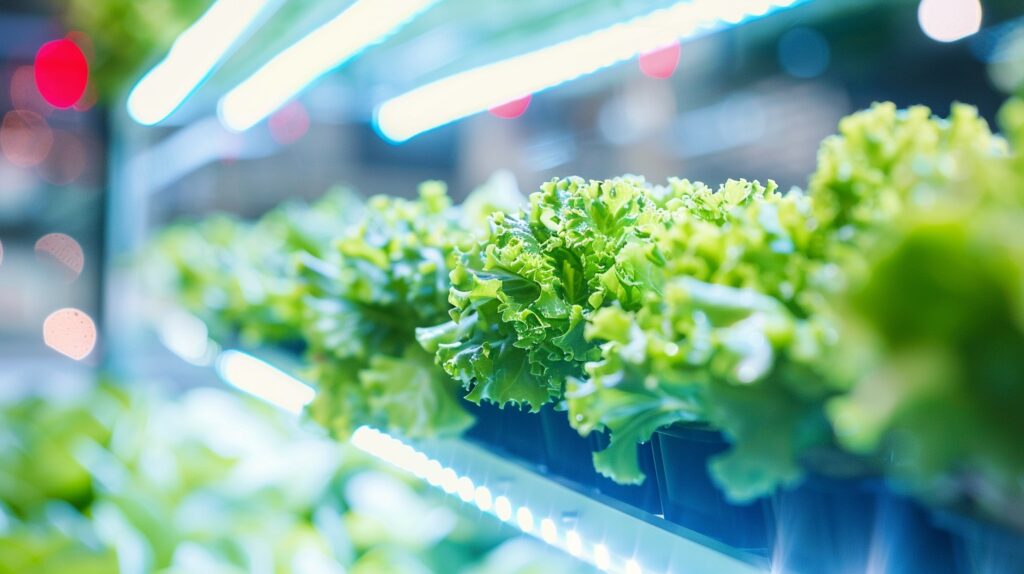
In an indoor vegetable garden, especially in apartments with limited natural light, grow lights are essential for ensuring that your plants receive the light they need to thrive. Here’s how to use grow lights effectively for an indoor vegetable garden with grow lights.
Positioning Grow Lights
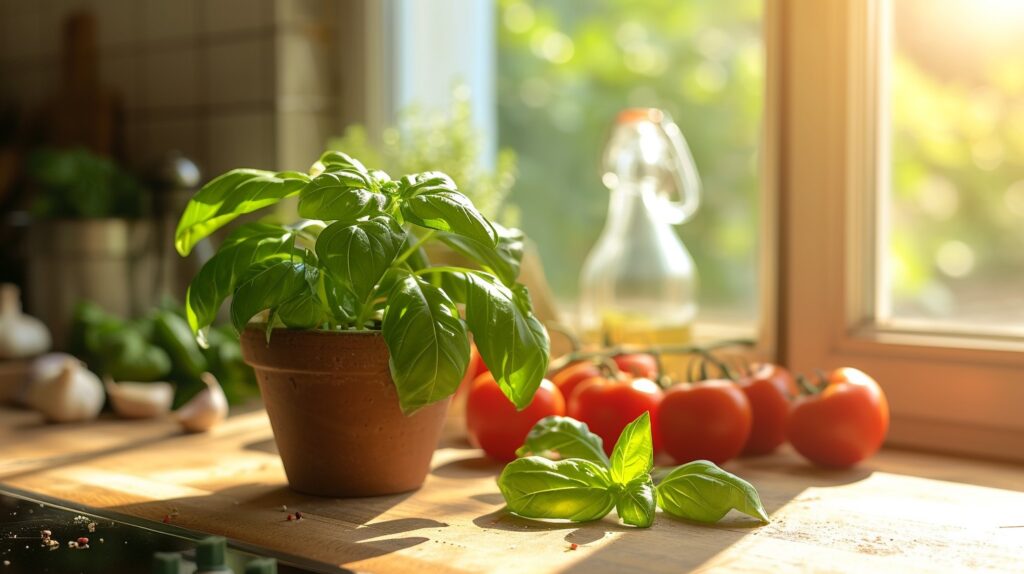
The placement of your grow lights is critical for providing adequate light to your plants in your indoor vegetable garden.
Distance from Plants:
The optimal distance between the grow light and your plants depends on the type of light you’re using. Fluorescent lights should be placed about 6-12 inches above the plants, while LED lights can be positioned closer, typically 12-24 inches away, due to their lower heat output. Adjust the distance based on the light intensity and the growth stage of your plants—seedlings may require the light to be closer, while mature plants might need it slightly higher.
Light Coverage:
Ensure that the light covers all parts of the plant evenly. For larger containers or multiple plants, you may need to use multiple lights or a light with a broader coverage area. Reflectors or light hoods can also help direct light towards the plants and reduce light loss.
Scheduling Light Duration
Different vegetables have different light requirements, and replicating the natural daylight cycle is crucial for healthy growth.
Photoperiod:
Most vegetables need 12-16 hours of light per day to thrive. Seedlings may require up to 18 hours of light daily, while mature plants might need slightly less. Use a timer to automate the light schedule, ensuring consistency and preventing you from accidentally leaving the lights on too long or turning them off too early.
Dark Periods:
For healthy growth of indoor vegetable garden, plants also require a period of darkness. A cycle of 12-16 hours of light followed by 8-12 hours of darkness mimics natural daylight and promotes healthy growth and flowering. Continuous light without a dark period can stress the plants and lead to poor growth or even damage.
Adjusting Light Intensity
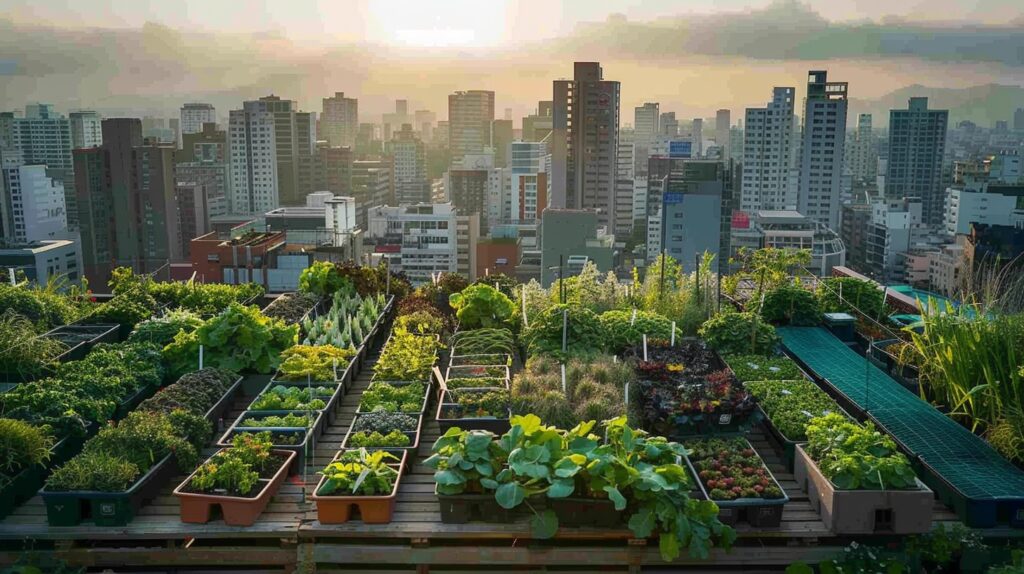
Not all vegetables require the same light intensity, and adjusting the brightness can optimize growth.
Light Spectrum:
Choose grow lights that provide a full spectrum of light, which includes both blue and red wavelengths. Blue light promotes leafy growth, making it ideal for herbs and leafy greens, while red light encourages flowering and fruiting, which is crucial for tomatoes, peppers, and other fruiting vegetables.
Intensity Control:
Some advanced LED grow lights allow you to adjust the intensity of the light. During the seedling stage, lower light intensity is sufficient, but as plants mature and enter the flowering or fruiting stage, you may need to increase the light intensity to support their growth.
Monitoring Plant Response
Regularly monitor your plants to ensure they are responding well to the grow lights.
Signs of Too Much Light:
If the leaves start to curl, turn yellow, or develop brown spots, your plants may be receiving too much light or the light may be too close. In this case, adjust the distance or reduce the light intensity.
Signs of Too Little Light:
If your plants are leggy, with long, spindly stems and pale leaves, they may not be getting enough light. Increase the duration or intensity of the light, or move the plants closer to the light source.
Energy Efficiency
Grow lights can consume a significant amount of energy, so choosing energy-efficient options is beneficial for both your plants in indoor vegetable garden and your electricity bill.
LED Grow Lights:
LED lights are the most energy-efficient option available, using up to 75% less energy than traditional incandescent or fluorescent lights. In the long term, they are a more economical option because they last longer.
Reflective Surfaces:
Use reflective materials like Mylar or aluminum foil around your indoor vegetable garden area to bounce light back onto the plants. This can enhance light coverage and reduce the need for additional lights. In conclusion, setting up an indoor vegetable garden involves careful planning and attention to detail, from choosing the right containers and soil mix to using grow lights effectively. By following this step-by-step guide and optimizing your grow light setup, you can create a thriving indoor vegetable garden with grow lights that produces fresh, healthy vegetables year-round.
Maintenance and Care of Your Indoor Vegetable Garden
Maintaining and caring for your indoor vegetable garden is crucial to ensuring that your plants remain healthy, productive, and free from pests. Regular care, including proper watering, fertilization, pest control, and monitoring plant health, will help you achieve a successful and thriving indoor apartment vegetable garden. Below is a detailed guide on the best practices for maintaining your indoor vegetable garden.
Watering and Fertilization
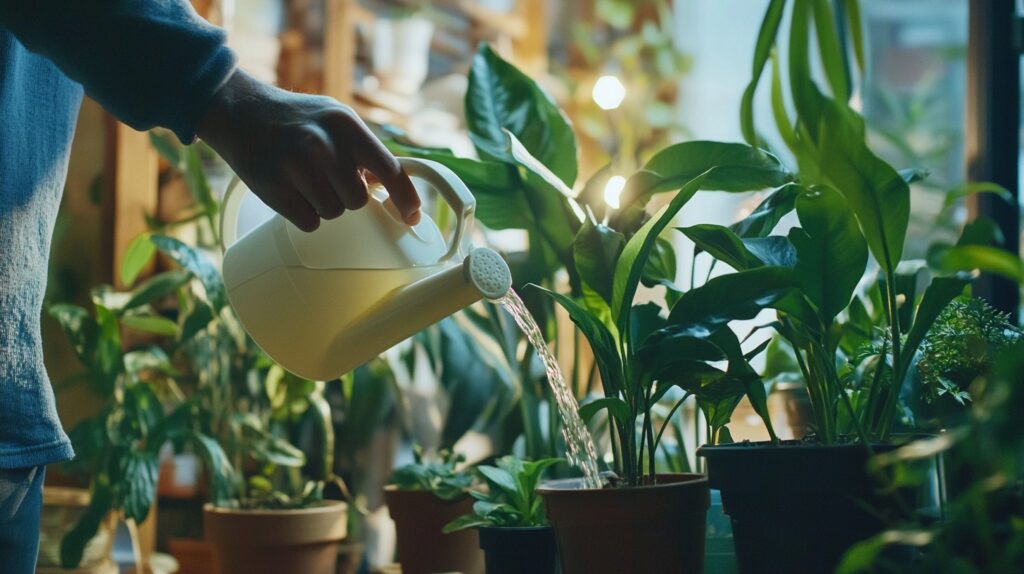
Watering and fertilization are the cornerstones of plant health. Proper watering techniques and the right choice of fertilizers can make a significant difference in the growth and productivity of your indoor vegetable garden.
Best Practices for Watering
Frequency and Amount:
The watering needs of your plants will vary depending on the type of vegetable, the size of the container, the soil mix, and the indoor environment. Generally speaking, the soil should be continuously moist but not soggy. Overwatering can lead to root rot, while under watering can cause plants to wilt and become stressed.
- Leafy Greens: Lettuce, spinach, and other leafy greens prefer consistently moist soil. Water these plants more frequently, ensuring that the top inch of soil is always slightly damp.
- Root Vegetables: Carrots, radishes, and beets require less frequent watering. To avoid rot, let the top inch of soil dry out in between watering.
- Fruiting Vegetables: Tomatoes, peppers, and cucumbers need deep watering to encourage strong root development. Water these plants thoroughly, ensuring that the water reaches the root zone.
Watering Techniques:
- Bottom Watering: For small containers or seedlings, consider bottom watering by placing the containers in a tray of water and allowing the soil to absorb moisture from the bottom up. This method prevents overwatering and reduces the risk of fungal diseases.
- Drip Irrigation: For larger indoor gardens, a drip irrigation system can provide a steady supply of water directly to the roots, reducing water waste and ensuring consistent moisture levels.
Organic and Synthetic Fertilizers
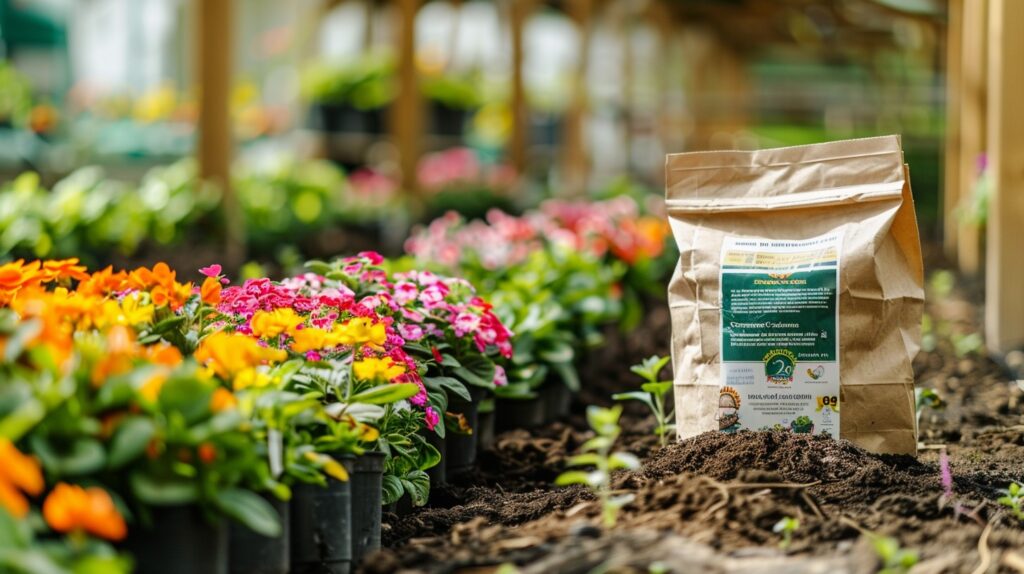
Organic Fertilizers:
Over time, organic fertilizers strengthen soil structure by gradually releasing nutrients.
They are a great option for maintaining a healthy, sustainable indoor vegetable garden.
Compost:
Rich in nutrients, compost is an excellent all-purpose fertilizer. Incorporate it into the soil mix or top-dress your containers with a layer of compost every few weeks.
Worm Castings:
Worm castings are a nutrient-rich byproduct of composting worms and are especially beneficial for leafy greens and herbs. They can be mixed into the soil or used as a top dressing.
Fish Emulsion:
A liquid fertilizer made from fish waste, fish emulsion is high in nitrogen and is ideal for promoting leafy growth. It can be applied as a foliar spray or watered into the soil.
Synthetic Fertilizers:
Synthetic fertilizers provide a quick, concentrated dose of nutrients and are often easier to apply than organic options.
Balanced NPK Fertilizer:
A balanced fertilizer with equal parts nitrogen (N), phosphorus (P), and potassium (K) is suitable for general use. Apply it according to the manufacturer’s instructions, usually every 2-4 weeks during the growing season in your indoor vegetable garden.
Specialized Formulas:
Consider using specialized fertilizers for specific vegetables, such as a high-potassium formula for fruiting plants like tomatoes and peppers, or a high-nitrogen fertilizer for leafy greens.
Pest Control
Even indoor vegetable gardens can be susceptible to pests. However, natural methods can effectively manage these common problems without resorting to harmful chemicals.
Common Indoor Vegetable Garden Pests
Here are some of the most common pests that can affect an indoor apartment vegetable garden and how to deal with them naturally:
- Aphids: Tiny, soft-bodied insects that suck the sap from plant leaves, causing them to curl and become distorted. Aphids can reproduce quickly and form large colonies.
- Control Method: Spray affected plants with a mixture of water and mild dish soap, or use Neem oil, an organic insecticide that is safe for indoor use.
- Spider Mites: These tiny pests thrive in dry conditions and cause yellowing and stippling on leaves. They are often found on the undersides of leaves and can spin fine webs on the plants.
- Control Method: Increase humidity around your plants by misting them regularly. Wash the leaves with a mixture of water and Neem oil, or introduce natural predators like ladybugs.
- Fungus Gnats: Small, mosquito-like insects that lay their eggs in moist soil. The larvae feed on plant roots, leading to stunted growth.
- Control Method: Allow the top layer of soil to dry out between waterings to discourage egg-laying. You can also place sticky traps near the plants to catch adult gnats or use a biological control like Bacillus thuringiensis (Bt) to target the larvae.
- White flies: Small, white insects that fly around when the plant is disturbed. They feed on the underside of leaves, leading to yellowing and leaf drop.
- Control Method: Introduce beneficial insects like ladybugs or lacewings, or use yellow sticky traps to catch adult white flies. White fly numbers can also be effectively managed with neem oil.
- Natural Pest Control Methods
To maintain a healthy indoor vegetable garden, it’s essential to use natural pest control methods that are safe for both plants and humans.
Companion Planting:
Some plants naturally repel pests and can be used as companions to protect your vegetables. For example, marigolds repel aphids and nematodes, while basil can deter whiteflies and mosquitoes.
Essential Oils:
Many essential oils, such as peppermint, eucalyptus, and rosemary, have insect-repelling properties. Dilute a few drops in water and spray on plants to deter pests.
Diatomaceous Earth:
A natural, non-toxic powder made from fossilized algae, diatomaceous earth can be sprinkled around the base of plants to kill soft-bodied pests like aphids and slugs by dehydrating them.
Monitoring Plant Health
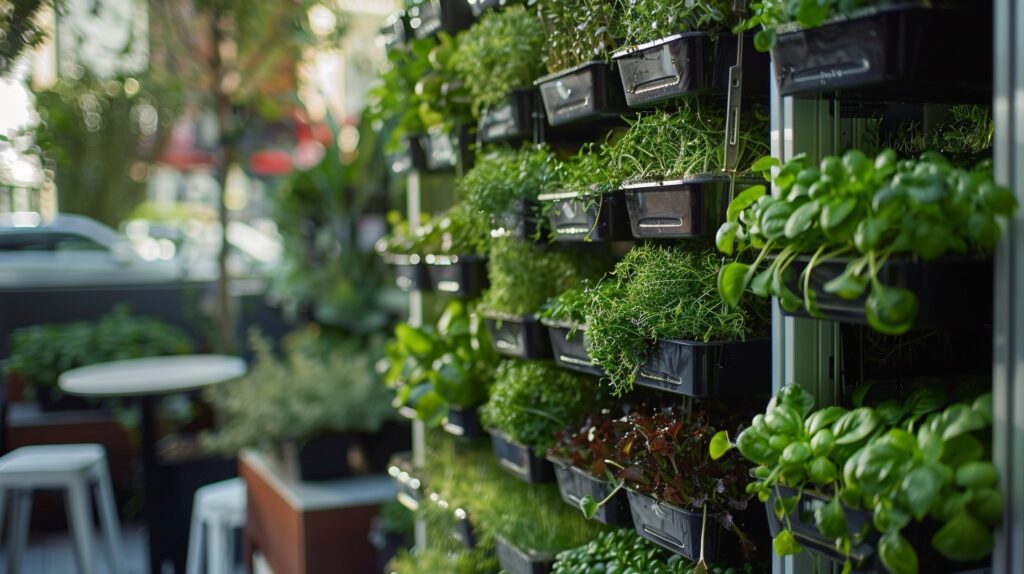
Regularly monitoring the health of your plants is key to catching and addressing problems early. Understanding the signs of healthy versus unhealthy plants will help you take action before issues become severe in your indoor vegetable garden.
Signs of a Healthy Plant
Healthy plants typically exhibit the following characteristics:
Vibrant Green Leaves:
Leaves should be lush, vibrant green, and free from discoloration or spots. The leaves should feel firm and not wilted or dry.
Strong, Upright Growth:
Healthy plants grow steadily and have strong, upright stems. They should not be leggy or weak, which can indicate a lack of light or nutrients.
New Growth:
Regularly appearing new leaves, flowers, or fruit are signs that your plant is thriving. This indicates that the plant is receiving the right amount of light, water, and nutrients.
Healthy Roots:
If you need to check the roots (for example, when re-potting), they should be white or light tan and firm. Dark, mushy roots indicate root rot.
Signs of an Unhealthy Plant
Unhealthy plants may display various symptoms, and understanding these can help you take corrective measures:
Yellowing Leaves:
Yellow leaves can be a sign of overwatering, underwatering, nutrient deficiencies, or pest infestation. Check the soil moisture, adjust your watering routine, and consider applying a balanced fertilizer.
Wilting: Wilting leaves can result from a lack of water, but it can also indicate root rot due to overwatering. Assess the soil moisture and the plant’s root health to determine the cause.
Stunted Growth:
If your plant is not growing as expected, it may lack nutrients, light, or be suffering from a pest or disease problem. Ensure the plant receives adequate light and consider using a fertilizer to boost growth.
Leaf Spots or Discoloration:
Dark spots, holes, or other discolorations on leaves can indicate pest damage, fungal infections, or nutrient imbalances. Inspect the plant for pests, apply a natural fungicide if necessary, and adjust your fertilization practices.
What to Do if Problems Arise
If you notice signs of an unhealthy plant in your indoor vegetable garden, take the following steps to address the issue:
Diagnose the Problem:
Carefully observe the plant and its environment to determine the cause of the problem. Consider factors such as watering habits, light levels, pests, and nutrient availability.
Adjust Care Routine:
Based on your diagnosis, make adjustments to your plant care routine. This might involve altering your watering schedule, moving the plant to a brighter location, or applying a targeted fertilizer.
Treat Pests and Diseases:
If pests or diseases are present, take immediate action to treat the problem using the natural methods outlined earlier. Early intervention can prevent the issue from spreading to other plants.
Prune Damaged Areas:
Remove any dead or severely damaged leaves, stems, or flowers to prevent the spread of disease and encourage new growth. Enhancing air circulation around the plant is another benefit of pruning.
By following these maintenance and care guidelines, you can ensure that your indoor apartment vegetable garden remains healthy, productive, and free from pests. Regular attention to watering, fertilization, pest control, and monitoring plant health will result in a flourishing indoor vegetable garden that provides fresh, homegrown vegetables throughout the year.
Harvesting Your Indoor Vegetables
Harvesting your indoor vegetables is the culmination of your gardening efforts and a rewarding experience that brings fresh produce right to your table. Knowing when and how to harvest your crops in your indoor vegetable garden is essential for enjoying the best flavors and textures, as well as encouraging regrowth and maintaining a continuous supply of fresh vegetables. Here’s a detailed guide to help you maximize your harvest from your “indoor vegetable garden with grow lights.”
When and How to Harvest
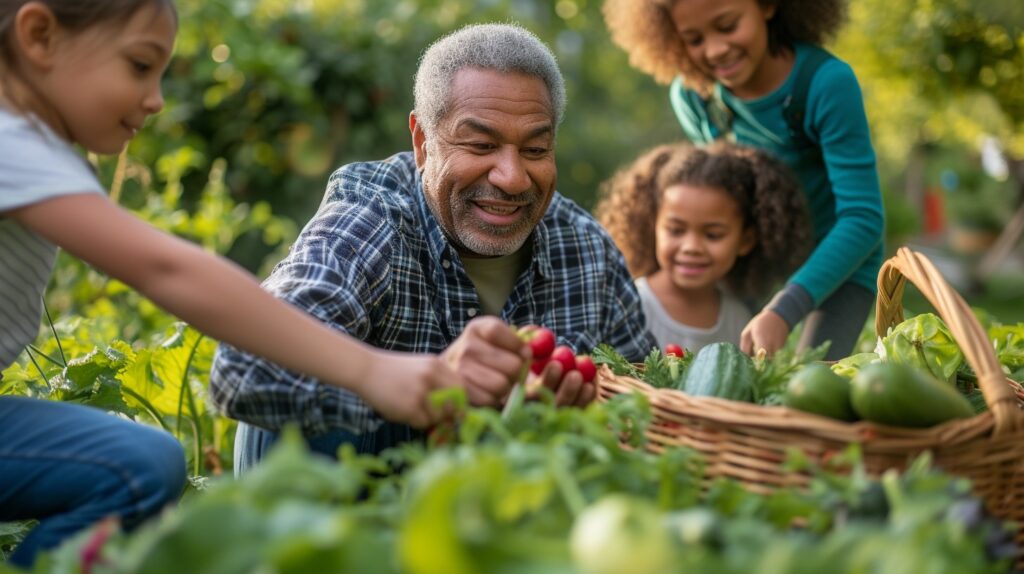
Different vegetables have unique harvesting times and techniques to ensure optimal taste, texture, and nutritional value. Understanding the specific needs of each type of vegetable will help you harvest them at the perfect time.
Leafy Greens
Leafy greens like lettuce, spinach, kale, and arugula are among the easiest vegetables to grow and harvest indoors.
When to Harvest:
Leafy greens are typically ready for harvest when they reach a height of 4-6 inches, which usually occurs about 4-6 weeks after planting. You can begin harvesting once the leaves are large enough to eat, but before they become tough or bitter.
How to Harvest:
Use a sharp pair of scissors or garden shears to cut the outer leaves about an inch above the base of the plant. Leave the inner leaves intact so that the plant can continue to grow. This method, known as “cut-and-come-again,” allows for multiple harvests from the same plant over several weeks.
Herbs
Herbs like basil, parsley, cilantro, and mint thrive in an indoor garden and can be harvested continuously.
When to Harvest:
Herbs can be harvested as soon as the plant has enough foliage to support continued growth. This is usually when the plant is 6-8 inches tall and has developed several sets of leaves.
How to Harvest:
Pinch or cut off the top few inches of the plant, just above a set of leaves or a node (where leaves grow from the stem). Regular harvesting encourages the plant to become bushier and produce more foliage, leading to a more abundant harvest.
Fruiting Vegetables
Fruiting vegetables like tomatoes, peppers, and cucumbers require more time to mature but offer a rewarding harvest.
Tomatoes:
When tomatoes are completely colored and just a little bit tender to the touch, harvest them. From planting, this can take 60-85 days, depending on the type. To prevent harming the plant, carefully trim or twist the fruit off the vine.
Peppers:
Depending on your preferred flavor, peppers can be harvested at different stages of maturity. While red, yellow, or orange peppers are kept on the plant longer to develop color and taste, green peppers are harvested earlier. To remove the peppers from the plant, use scissors or a sharp knife.
Cucumbers:
Cucumbers should be harvested when they are firm and about 6-8 inches long, depending on the variety. Overripe cucumbers become bitter and tough. Use scissors to snip the fruit from the vine.
Root Vegetables
Root vegetables like carrots, radishes, and beets require a bit more patience and careful harvesting to avoid damaging the crop.
Carrots:
Carrots are ready for harvest when their shoulders (the tops of the roots) begin to emerge from the soil and are about ½ to ¾ inch in diameter. Gently loosen the soil around the carrot and pull it up by the tops.
Radishes:
Radishes mature quickly, usually within 3-4 weeks. They are ready for harvest when they reach about 1 inch in diameter. Carefully pull them from the soil to avoid breaking the roots.
Beets:
Beets are typically ready for harvest when they are about 1-3 inches in diameter. Larger beets may become tough. Like carrots, gently loosen the soil around the beet before pulling it out.
Companion Planting Tips
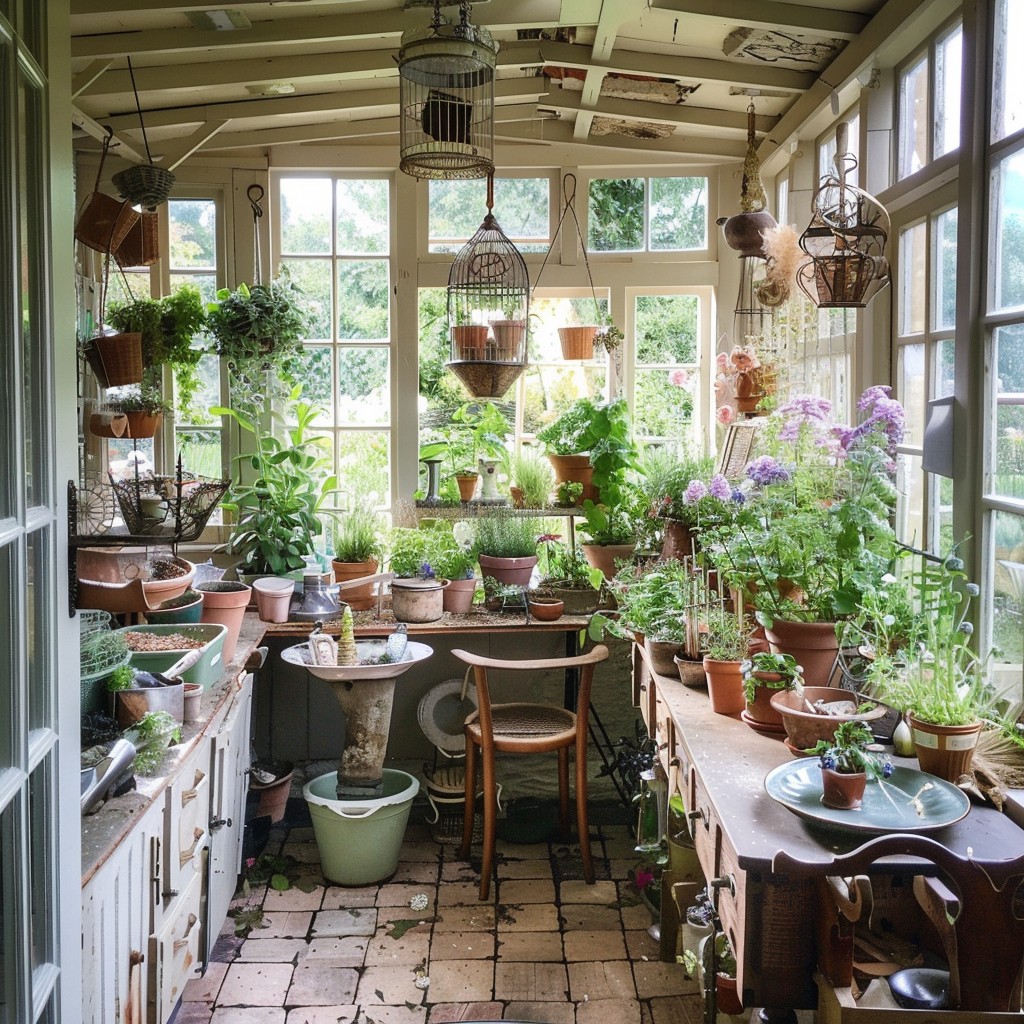
For those practicing companion planting in their “indoor vegetable garden with grow lights,” it’s essential to understand the unique harvesting needs of each plant. Companion plants should be harvested in a way that doesn’t disrupt the growth of neighboring plants. For example, harvesting leafy greens or herbs growing alongside slower-maturing vegetables like tomatoes can be done with care to avoid disturbing the roots or shading the companion plants too much.
Encouraging Regrowth and Continuous Harvest
One of the benefits of growing vegetables indoors is the ability to maintain a continuous harvest, ensuring a steady supply of fresh produce. Here’s how to encourage regrowth and keep your garden productive:
Leafy Greens and Herbs:
By harvesting outer leaves or pinching back the tops, you stimulate the plant to produce new growth. Regular, light harvesting can extend the productive life of these plants, allowing for multiple harvests over weeks or even months.
Fruiting Vegetables:
For plants like tomatoes and peppers, removing ripe fruits promptly encourages the plant to focus energy on producing more flowers and fruit. Regular feeding with a balanced fertilizer can also support continuous production.
Root Vegetables:
While root vegetables are typically harvested once, succession planting can help ensure a continuous supply. Plant new seeds every few weeks so that you have a steady stream of crops maturing at different times.
Enjoying Your Fresh Produce
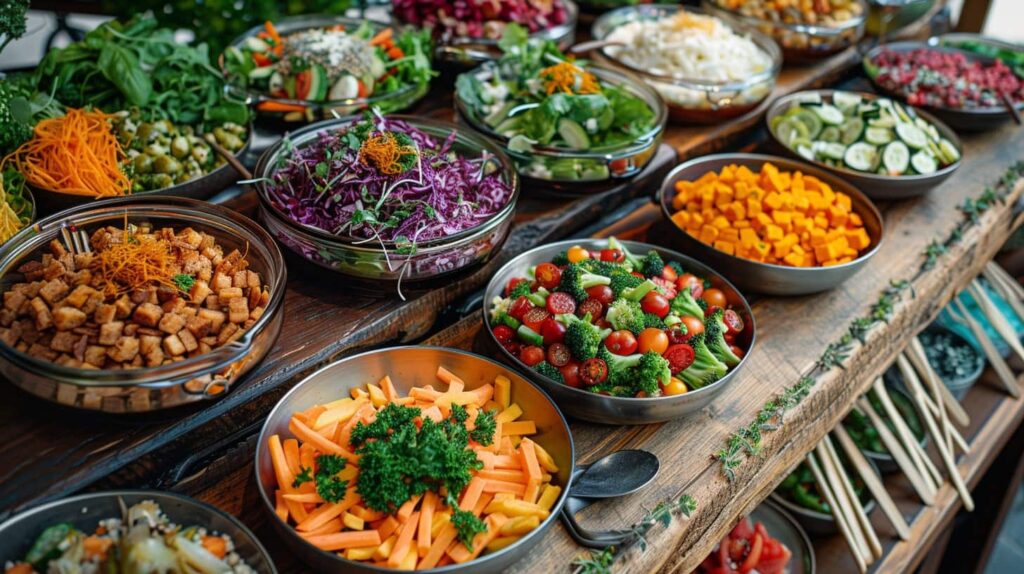
It’s time to enjoy your hard work after harvesting your veggies. Fresh, homegrown produce is not only more flavorful but also more nutritious. Here are some ideas for incorporating your freshly grown vegetables into meals:
Leafy Greens and Herbs
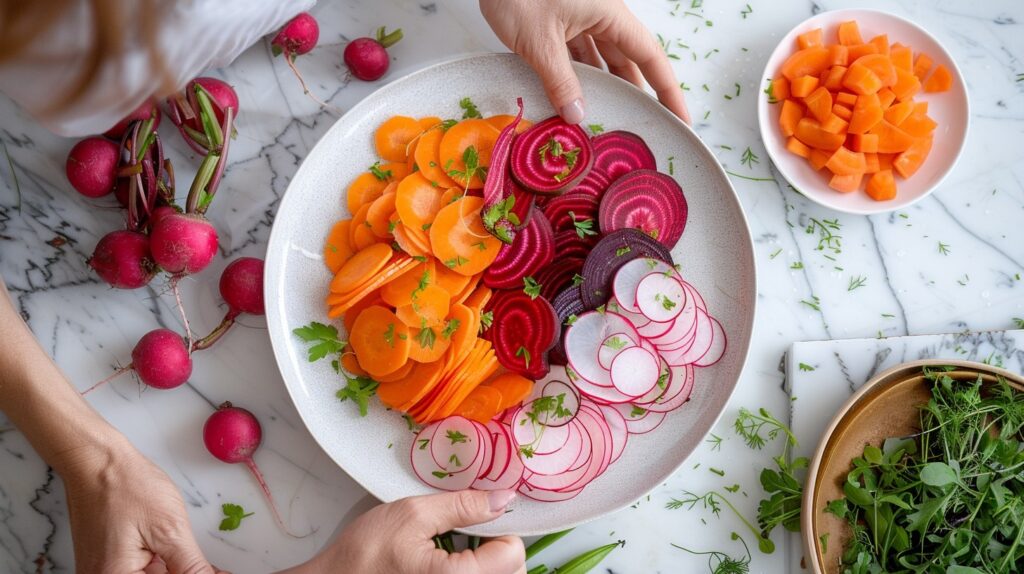
Salads:
Freshly harvested leafy greens make the perfect base for a crisp, refreshing salad. Add herbs like basil or cilantro for extra flavor, and top with your favorite vegetables, nuts, or seeds.
Pesto and Herb Sauces:
Use fresh basil, parsley, or cilantro to make homemade pesto or herb sauces. Blend the herbs with olive oil, garlic, nuts, and cheese for a delicious sauce to toss with pasta or drizzle over roasted vegetables.
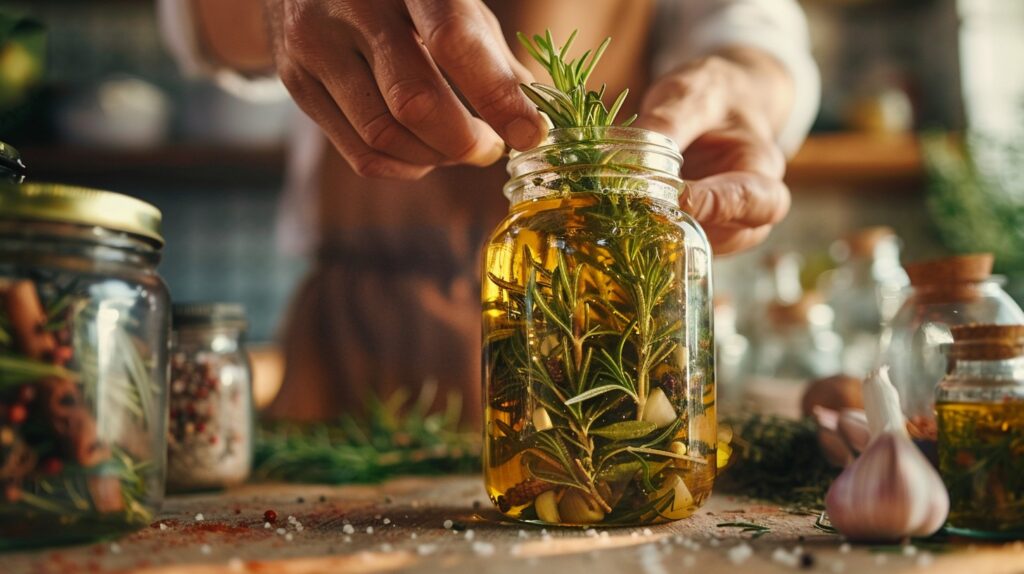
Herb-Infused Oils and Vinegars:
Preserve the flavors of your herbs by infusing them into oils or vinegars. These can be used to dress salads, marinate meats, or add flavor to cooked dishes.
Fruiting Vegetables
Fresh Salsas and Sauces:
Use your homegrown tomatoes, peppers, and herbs to make fresh salsa or tomato sauce. Combine diced tomatoes with chopped peppers, onions, and cilantro for a zesty salsa, or simmer tomatoes with garlic and herbs for a rich marinara sauce.
Stuffed Vegetables:
Larger peppers and tomatoes can be hollowed out and stuffed with a mixture of grains, vegetables, and cheese for a hearty meal.
Cucumber Salads and Pickles:
Fresh cucumbers can be sliced thinly for salads or pickled for a tangy snack. Try a simple cucumber salad with vinegar, salt, and dill, or make quick refrigerator pickles with your favorite spices.
Root Vegetables
Roasted Roots:
Carrots, beets, and radishes can be roasted to bring out their natural sweetness. Toss them with olive oil, salt, and your favorite herbs, then roast until tender and caramelized.
Fresh Crudités:
Raw carrots and radishes make excellent snacks or additions to a veggie platter. Pair them with a homemade dip like hummus or yogurt-based dressing for a healthy treat.
Root Vegetable Salads:
Shred or thinly slice beets and carrots for a colorful salad. Add a simple vinaigrette and some fresh herbs for a light, refreshing side dish.
By following these guidelines, you can harvest your “indoor vegetable garden with grow lights” at the right time, encourage continuous production, and enjoy the freshest, most flavorful vegetables right from your home. Whether you’re making salads, sauces, or snacks, the satisfaction of eating what you’ve grown yourself is unparalleled.
Frequently Asked Questions
1. Can I grow vegetables indoors if I have limited space?
Yes, you can! Indoor vegetable gardening is highly adaptable to various living conditions, including small apartments. By utilizing vertical spaces, windowsills, hanging planters, and tiered shelves, you can maximize your available area. Even in the tightest spaces, an “indoor apartment vegetable garden” can flourish with proper planning and creativity. Compact and container-friendly vegetables, such as herbs, leafy greens, and small root vegetables, are ideal choices for limited spaces.
2. What are the best vegetables to grow indoors?
The best vegetables to grow indoors are those that thrive in container environments and have relatively low space requirements. Some of the top choices include:
- Leafy Greens: Lettuce, spinach, kale, and arugula.
- Herbs: Basil, parsley, cilantro, and mint.
- Fruiting Vegetables: Cherry tomatoes, peppers, and cucumbers.
- Root Vegetables: Radishes, carrots, and beets.
These plants can adapt well to indoor conditions and are generally easy to care for, making them perfect for beginners.
3. Do I need grow lights for my indoor vegetable garden?
Grow lights are not always necessary but can be highly beneficial, especially if your indoor space lacks sufficient natural sunlight. “Indoor vegetable garden with grow lights” is a great option for apartments or rooms that don’t receive direct sunlight. Grow lights mimic the sun’s spectrum and provide the necessary light for photosynthesis, allowing your plants to grow healthily even in darker environments. They also enable you to extend the growing season year-round.
4. How much light do indoor vegetables need?
Most indoor vegetables require at least 6-8 hours of light per day. Leafy greens and herbs can often thrive with slightly less, while fruiting vegetables like tomatoes and peppers may need more intense and longer light exposure. If relying on natural light, place your plants in a south-facing window to maximize sunlight. If using grow lights, adjust the intensity and duration to match the specific needs of your plants.
5. How do I maintain and care for my indoor vegetable garden?
Proper maintenance and care are crucial for a thriving indoor vegetable garden. Here are key aspects to focus on:
- Watering: Make sure the soil is continuously damp but not soggy. Underwatering can cause stress on the plants, while overwatering might cause root rot.
- Fertilization: Use organic or synthetic fertilizers to provide essential nutrients. Follow the recommended dosage and frequency to avoid nutrient burn.
- Pest Control: Aphids, spider mites, and fungus gnats are common pests in indoor gardens. Combat these naturally with neem oil, insecticidal soap, or introducing beneficial insects like ladybugs.
- Monitoring Plant Health: Regularly check for signs of stress, such as yellowing leaves, stunted growth, or wilting. Address issues promptly by adjusting water, light, or nutrients as needed.
6. How do I harvest my indoor vegetables, and how often can I harvest them?
Different Harvesting techniques are used for different types of vegetable:
- Leafy Greens: Use the “cut-and-come-again” method by snipping outer leaves when they reach 4-6 inches tall. This allows the plant to continue growing and provides multiple harvests over time.
- Herbs: Pinch or cut the top few inches of the plant just above a set of leaves. Frequent harvesting promotes bushier growth and higher yields.
- Fruiting Vegetables: Harvest tomatoes when fully colored and slightly soft, peppers when they reach your desired color, and cucumbers when firm and of appropriate size.
- Root Vegetables: Harvest when they reach the desired size by gently loosening the soil and pulling them up.
By using proper techniques and encouraging regrowth, you can enjoy a continuous supply of fresh vegetables from your indoor garden.
7. What kind of containers should I use for my indoor vegetable garden?
Choose containers that are appropriately sized for the vegetables you plan to grow. Here are some general guidelines:
- Size: Containers should be deep enough to accommodate the root systems of your plants. Leafy greens and herbs can thrive in shallow containers, while root vegetables and fruiting plants may require deeper pots.
- Material: Containers can be made of plastic, ceramic, clay, or fabric. Each has its benefits—plastic is lightweight and retains moisture well, clay is porous and promotes airflow, while fabric pots offer excellent drainage.
- Drainage: Make sure the drainage holes in your containers are large enough to avoid waterlogging and root rot.
Consider using self-watering containers or adding a layer of gravel at the bottom to improve drainage.
8. How do I set up a successful “indoor vegetable garden with grow lights”?
Setting up a successful garden with grow lights involves a few key steps:
- Choose the Right Grow Lights: Full-spectrum LED grow lights are highly recommended as they provide the necessary light for all stages of plant growth. Fluorescent and HID lights are also options but may require more energy and produce more heat.
- Positioning: Place the grow lights 6-12 inches above the plants, depending on the light intensity and plant type. As your plants grow, adjust the height to retain the ideal amount of light exposure.
- Light Schedule: Most vegetables require 12-16 hours of light per day. To guarantee constant light exposure, set a timer. For seedlings, reduce the light duration to 10-12 hours per day as they mature.
- Monitor and Adjust: Regularly check your plants for signs of too much or too little light, such as leaf burn or leggy growth. As necessary, change the duration and intensity of the light.
By following these guidelines, you can create an ideal growing environment that supports healthy and productive indoor vegetable gardening.
9. How can I prevent pests in my indoor vegetable garden?
Preventing pests in your indoor garden requires a combination of good practices and vigilance:
- Maintain Cleanliness: Keep your garden area clean by removing dead leaves, debris, and weeds. Pests are attracted to decaying plant material, so regular cleaning reduces the risk.
- Inspect New Plants: Before introducing new plants to your indoor garden, inspect them for pests or diseases. To make sure fresh plants are pest-free, quarantine them for a few days.
- Proper Watering: Avoid overwatering, as moist environments can attract pests like fungus gnats. In between watering, allow the soil’s surface to dry slightly.
- Use Natural Remedies: If pests appear, use natural remedies like neem oil, insecticidal soap, or homemade sprays with garlic and chili to deter them. You can also introduce beneficial insects like ladybugs or predatory mites.
10. How do I start my first indoor vegetable garden?
Starting your first indoor vegetable garden can be simple and rewarding:
- Choose Your Vegetables: Begin with easy-to-grow vegetables like leafy greens, herbs, and small fruiting plants. These are beginner-friendly and require less space and maintenance.
- Select Containers and Soil: Choose appropriately sized containers with good drainage and fill them with high-quality potting soil. Garden soil should not be used as it could contain infections and pests.
- Decide on Light Source: If your space has sufficient natural light, position your containers near a south-facing window. If not, invest in grow lights to ensure your plants receive adequate light.
- Planting: Sow seeds or transplant seedlings according to the instructions for each vegetable. Water them gently and place them in a location where they will receive the required light.
- Care and Maintenance: Regularly water your plants, provide nutrients with a balanced fertilizer, and monitor for pests and diseases. Adjust care as needed based on your plants’ growth and development.
